Friday, March 31, 2006

Bob's Bug - Front Clip Replacement, Part 2


These images show the completion of the front clip replacement. Final tack welding, checking for fit of the hood, and final bead welding. Bob will be responsible for grinding the welds flush. Though I didn't take any pictures of it, I temporarily installed the fenders as well to verify their fit on the new front clip. Everything was within spec.

Bob's Bug - Front Clip Replacement, Part 1


The front clip on this car had suffered from 37 years of dents, dings, and amateur "bondo" bodywork. It was in need of replacement, and a replacement section from Denmark was included with the purchase of the car.

After a copious amount of measuring, I cut the front clip off roughly with a reciprocating saw. I purposely left about an inch or more of extra material for fine tuning. Next I fabricated "plugs" - correctly shaped pieces of metal to slide into the rectangular tube on the car and allow it to mate to the replacement front clip. The size was 1" x 1.25" rectangular tubing, which wasn't readily available. I actually purchased a thin-wall tube 1.25 x 1.25 and cut it with my air shears into a U-channel, making it exactly 1" x 1.25".

Next I mocked the front clip up and did another rough trimming of the existing metal. I checked the measurements against the original, then closed the hood and checked for an even gap around the entire hood. When I was satisfied I marked the exact cut, using the front clip as a guide, removed the front clip, and cut along the line with an air cut-off tool.

Next everything was reassembled, double and triple checked for measurement and fit, then tack-welded in place.

Monday, March 27, 2006

Bob's Bug - Floor Replacement Part 2 - The Installation


The first two images here show the initial trial fitting of the floors. Surprisingly, everthing fit together without much problem - a bit of a relief since the alignment of the front crossmember could really affect the fitting of the floors. I temporarily bolted the floors to the heater channels in two places on each side. Next I used a large clamp between the tunnel and the seat tracks to pull the floor into position on the tunnel flange. Once aligned I worked my way out from the centre of each floor, rosette welding in each punched hole. In some cases (at the front and back) I chose to run a full bead of weld as well.

The bottom two images show the pans installed. To finish this process each rosette weld can be ground down to resemble the original spot welds. Seam sealer should also be used top and bottom to prevent the ingress of water. Finally, the body should be lifted and the body to pan seal re-installed and the body fully bolted to the pan.

Bob's Bug - Floor Replacement Part 1 - Preparation


The first step in replacing the floors, like many things, is solid preparation.

In the first picture you can see how the remnants of the original spot welds on the main tunnel were ground down. Since the rear crossmember of the floor was still solid, original German (OG) metal, I decided to leave it and adjust the replacement panels accordingly. The second picture from the top shows one of the rear crossmembers cleaned up, with all traces of the original floor material removed.

The next two pictures show the replacement floor pan halves. The rear crossmembers were still present here as well as the jacking points, both of which were removed for this application.

The final picture shows the floor pan halves fully prepped for installation - rear crossmembers and jackpoints removed, paint removed where necessary for welding, and holes punched along the inner flanges in preparation for rosette welding into the car.

Friday, March 24, 2006

Bob's Bug - Autostick to Manual Conversion Part 2


The next step was to weld the tube in the rear shifter linkage access panel area. After this I checked all the welds for strength, treated the bare metal inside the tunnel with a rust preventitive paint, then welded the access hatches solid. If Bob chooses he can grind these welds down and the repair will be invisible. The clutch tube is currently sticking into the engine compartment about 15". It will be trimmed to size once the transmission is installed for reference.

Thursday, March 23, 2006

Bob's Bug - Autostick to Manual Conversion Part 1


Shortly after purchasing this car it became apparent it started life as an autostick vehicle. The previous owner(s) completed the majority of the changeover, including installing a manual transmission and pedal cluster. However, their clutch cable tube was makeshift at best - a flexible copper tube left loose inside the tunnel. The most difficult part of converting an early autostick car to a manual transmission is installing the clutch tube inside the tunnel. Proper tools are required and this is frequently a stumbling block. The tube was actually phased in over the years and late autostick cars all had the tube (though it was unused). Since this is a '69 and '68 was the first year for autostick, this car did not come equipped with a tube from the factory. The correct clutch tube is 1/2" thin wall steel tubing. As you can see in the pictures, I followed the instructions from a 1990's VW Trends article found in my personal archive.

The first step was cutting two access holes. I used a 4" bimetal hole saw on a 3/8" drill - the article recommended a 3" hole but I only had a 4" so I used it and I am thankful I did - the extra inch definitely came in handy.

Next I cut the steel tube to the length indicated in the article. Unfortunately it must have been a misprint because it was at least 12" short. I was then forced to weld the tube back together to make it longer. I left it long so it can be trimmed for the proper play in the bowden tube once the transmission is installed. The tube was installed from the engine compartment and slid easily into position.

Next I fabricated a support out of heavy angle iron for use in the centre access hole. You can see how the tube was welded into the existing support member at the front of the pan and to my support member in the middle, all through the 4" holes in the tunnel.

Continued in the next post...

Tuesday, March 21, 2006

My Current Collection


A number of people lately have been asking about my VW collection. Here is a snapshot of each of the vintage VW's I currently own:

#1 - 1972 SUPER BEETLE (THE LEMON)
-this is a flat windshield Super Beetle, arguably the most desireable of Super Beetles
-it was purchased as a driver, though I have now done some pretty extensive work to it it will never be perfect
-it is pretty much stock, with the original interior and engine and a crappy paint job
-we drove this car to the East coast and back last year (5000 km or 3000 miles) in one week
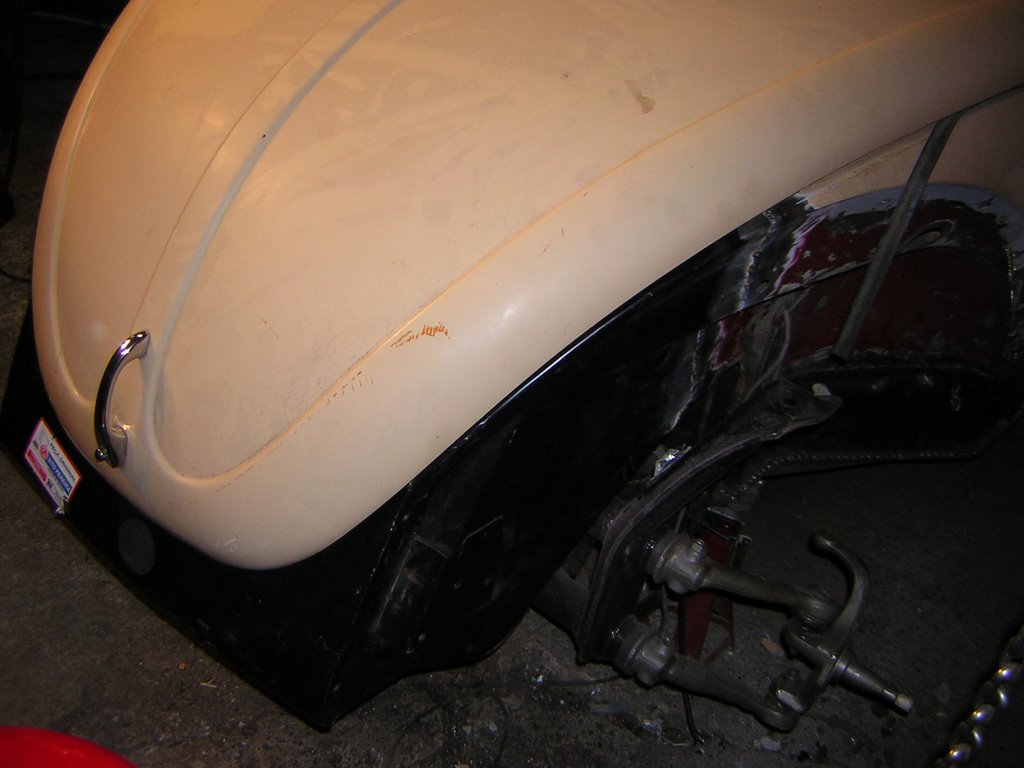
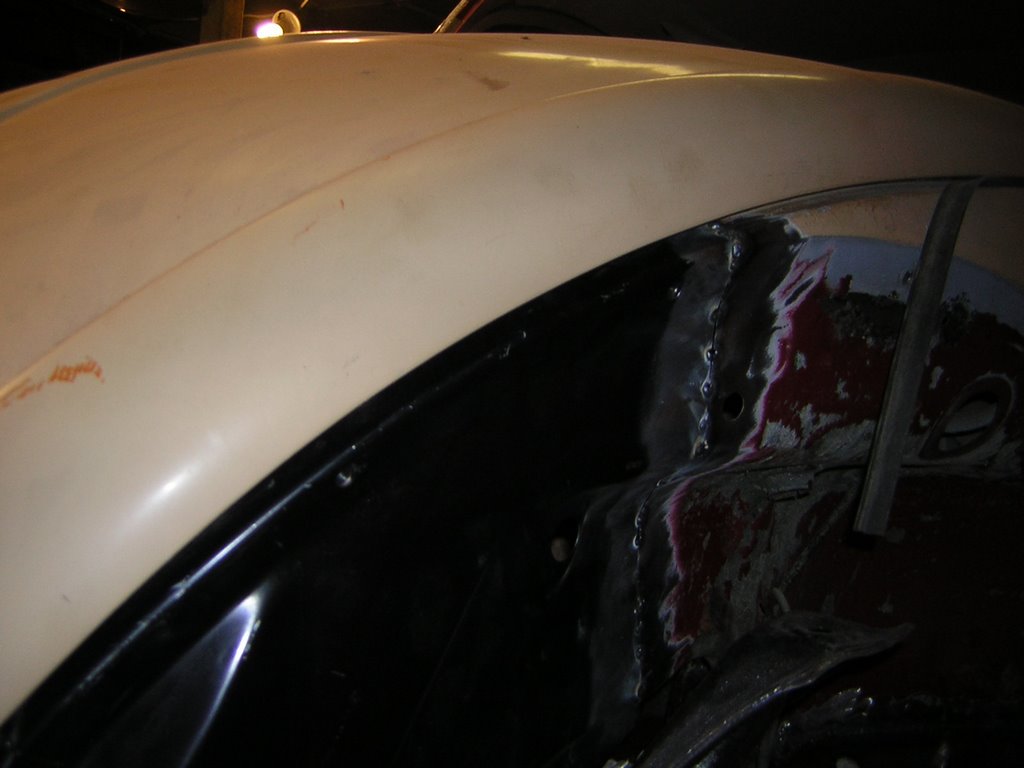
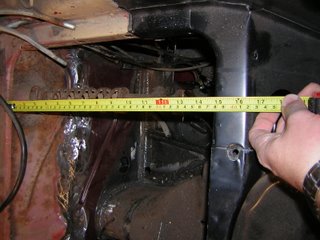
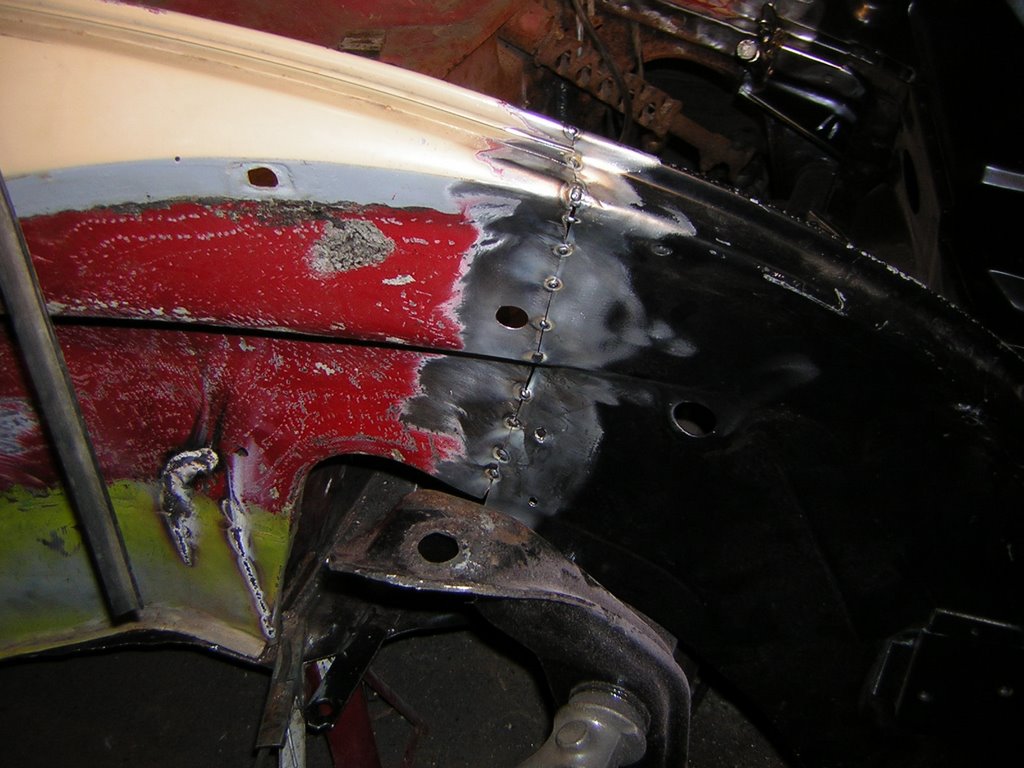
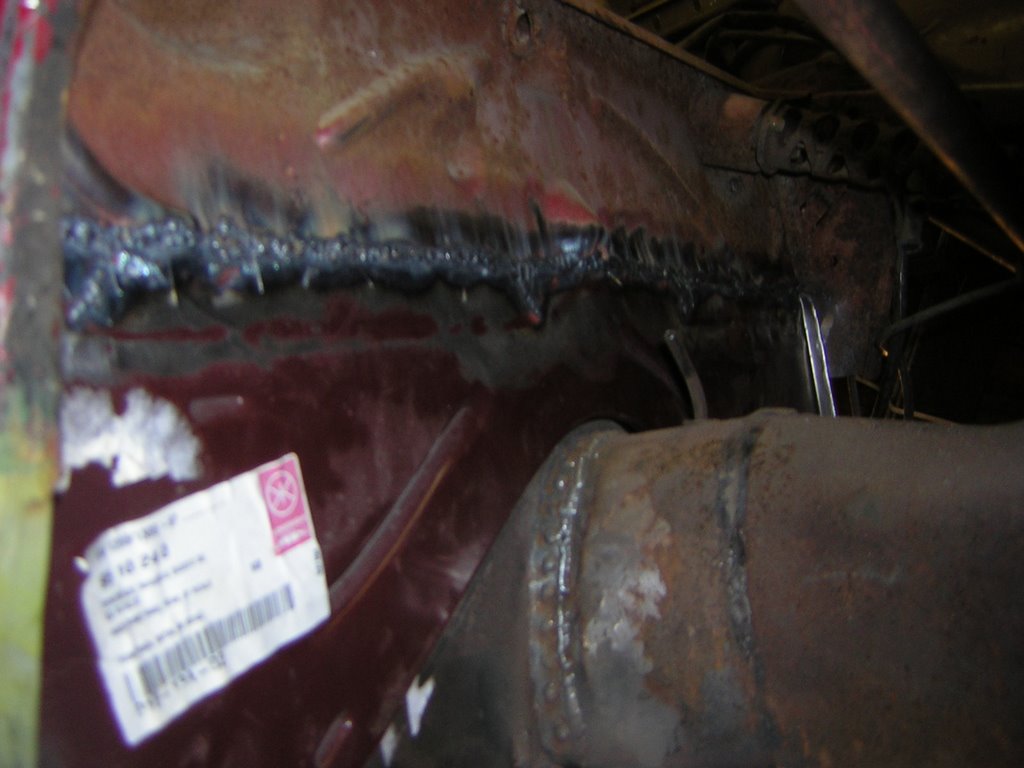
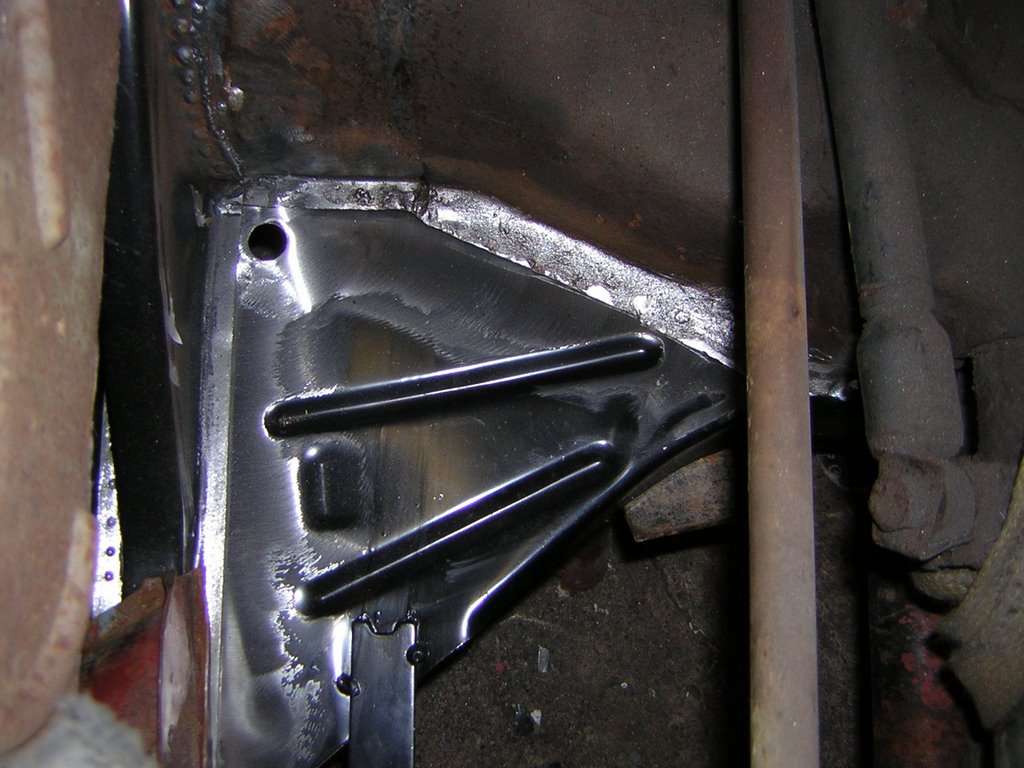
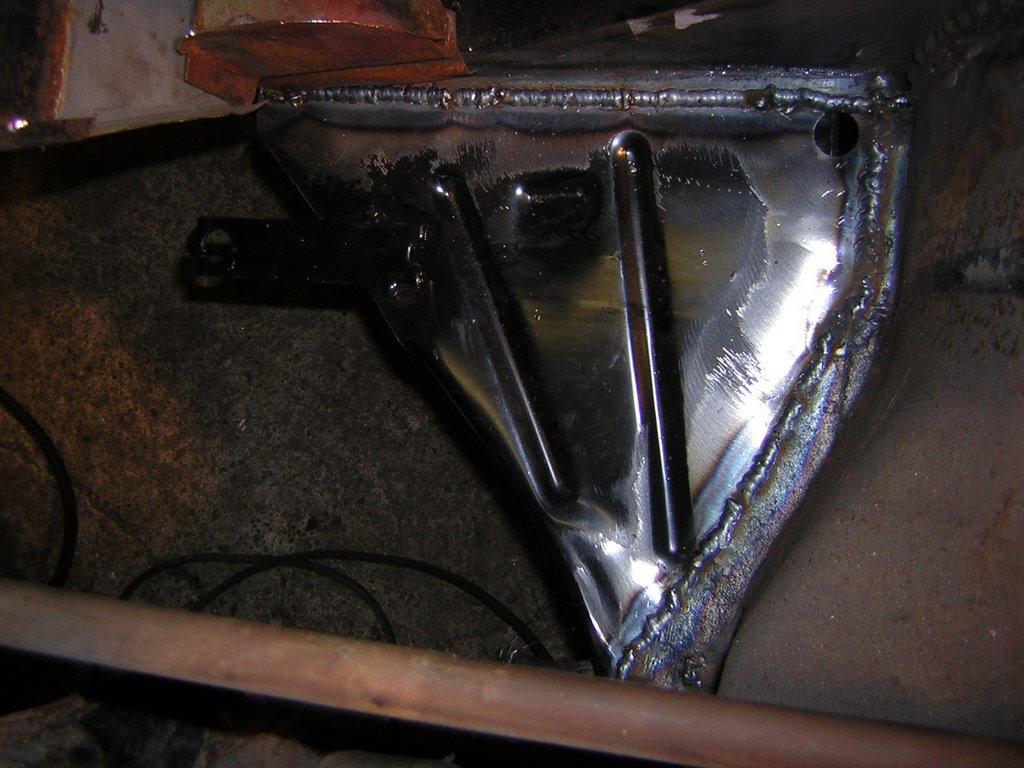
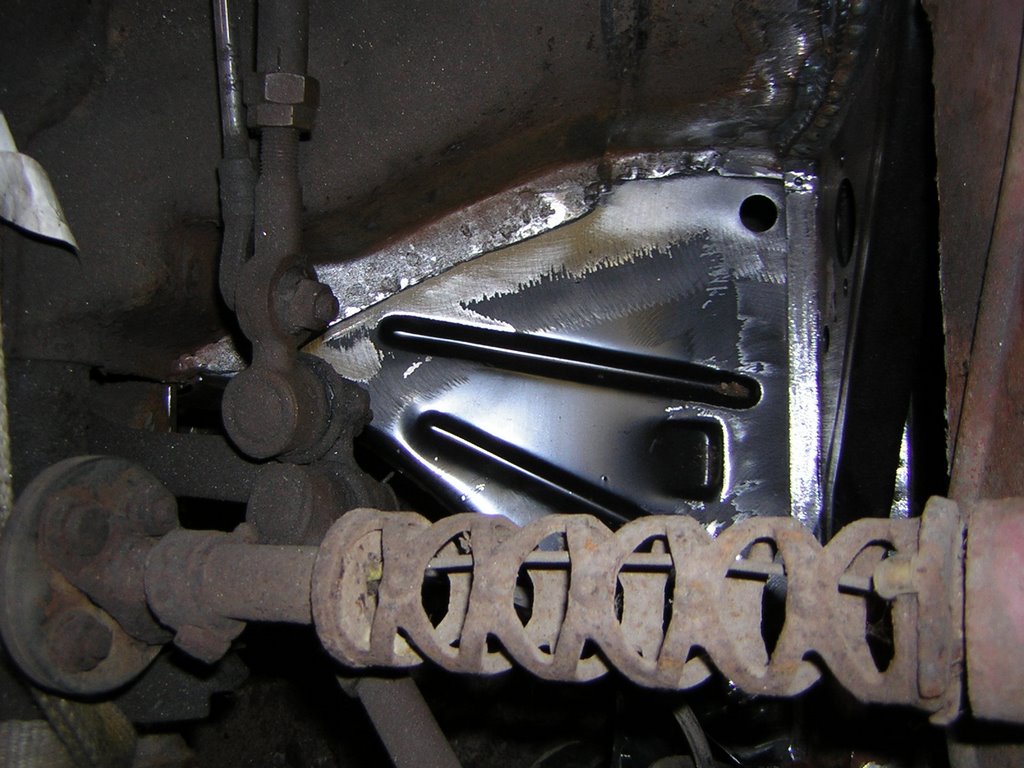
-currently the car is off the road getting rust repairs and paint improvements
-this car will be back on the road by May / June
-This was originally a BC car

#2 - 1976 DELUXE CAMPOBILE WESTFALIA (THE LIME)
-this is the latest addition to the stable
-this vehicle represents the ultimate compromise between our (now for sale) camping trailer and my Volkswagen obsession
-we are planning many camping trips this summer
-this vehicle retains its original stock interior. I am currently sourcing a new (used) passenger seat, new pop-top tent and some other odds and ends to freshen the interior so we can use it regularly
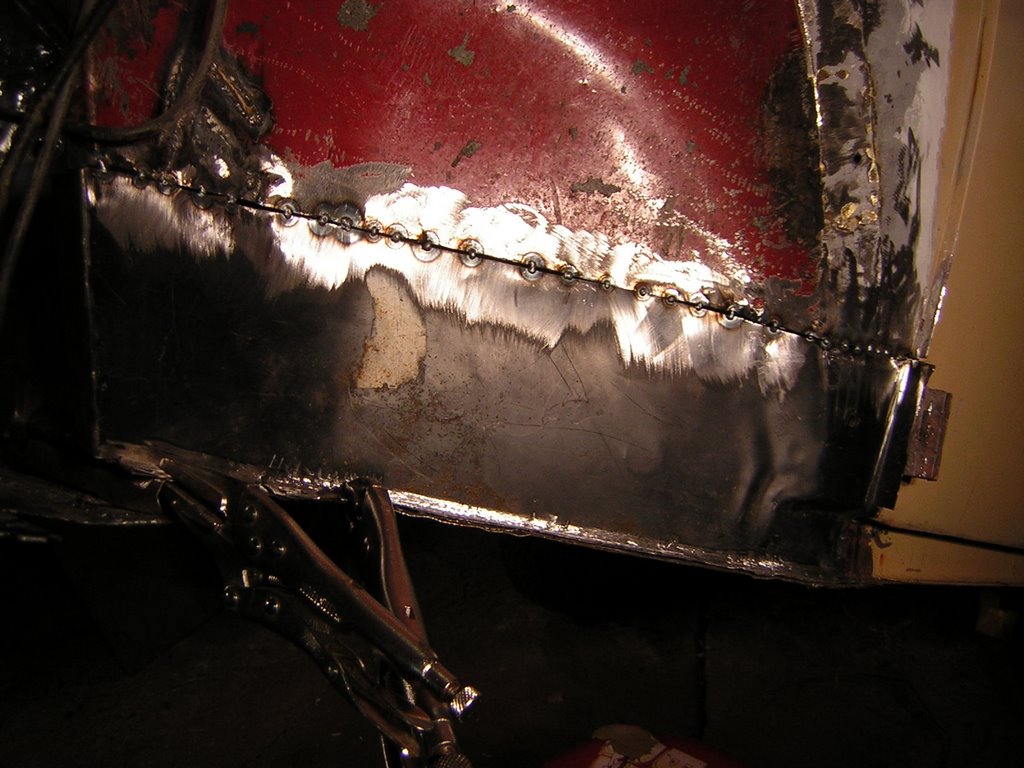
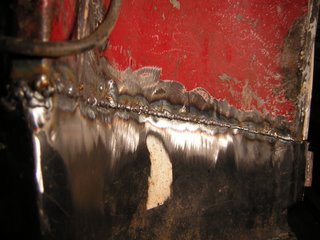
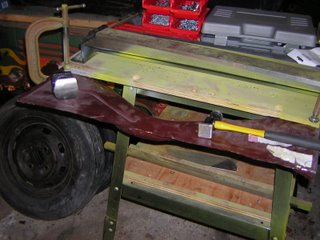
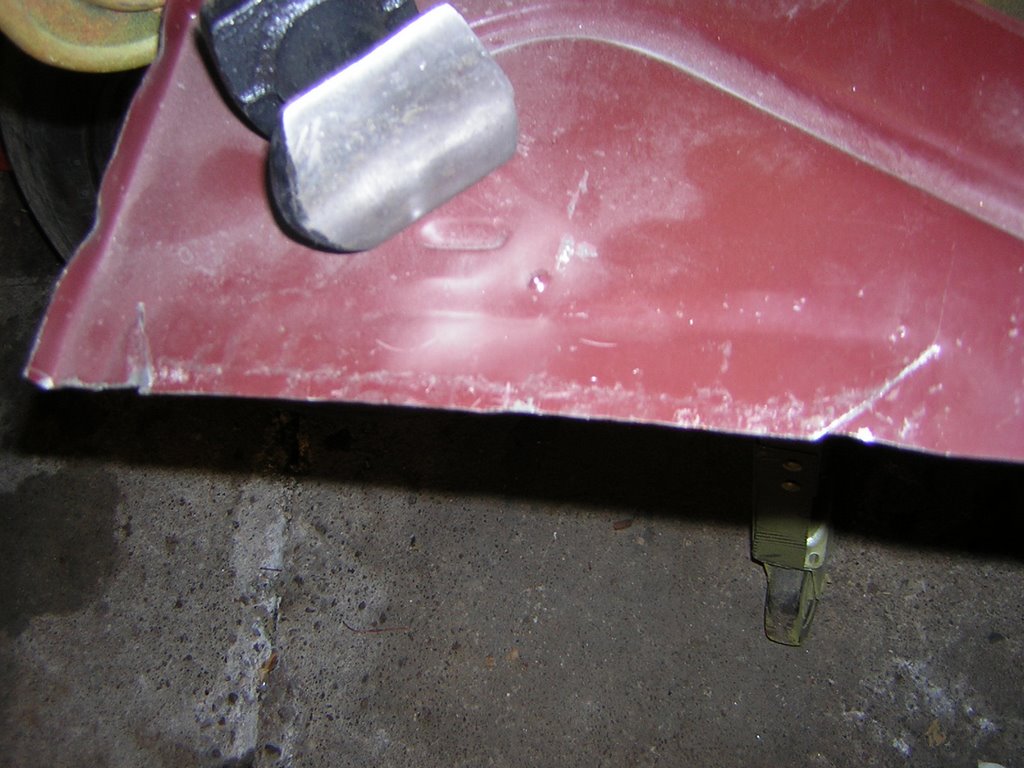
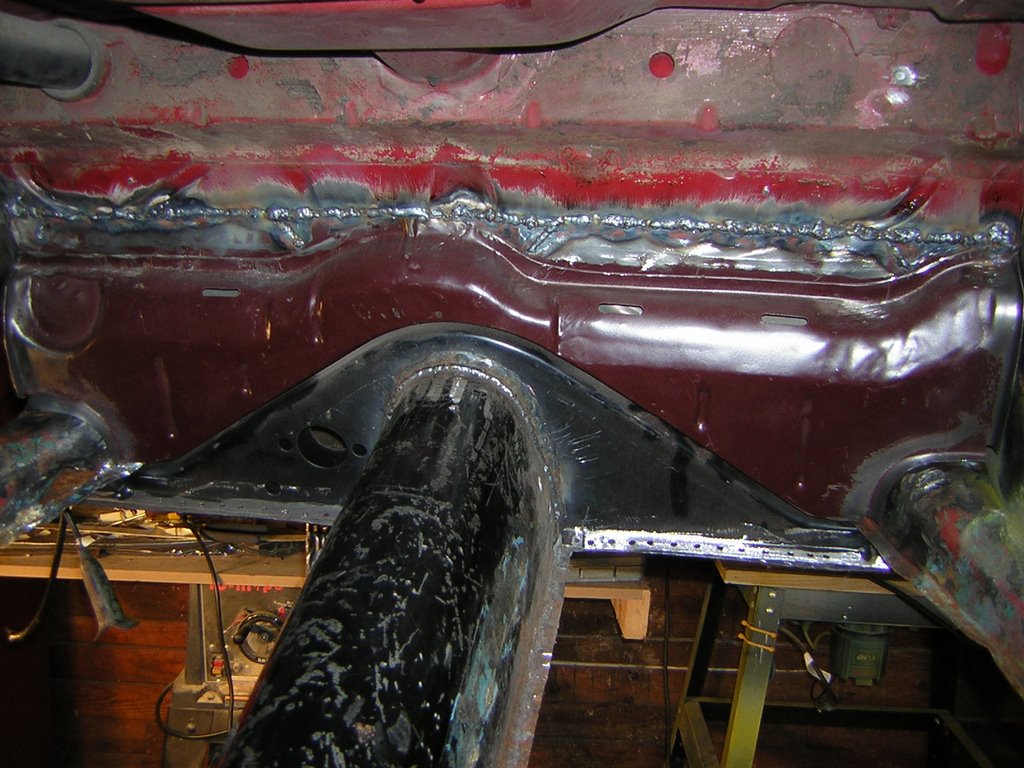
-the exterior has just gone through metal patch and paint process
-it is not a show vehicle, but it is solid, looks good, and I'm sure we'll have some great fun with it
-the engine has a rebuilt 2L type IV engine running a centremount Weber 2BBL carb
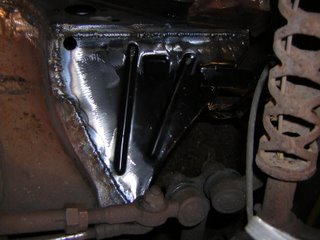
-other projects in the works for this vehicle are custom front and rear tow hitches (the front one for a bike rack, the rear for towing), a custom audio and dvd video system inside, and ultimately a refacing of the original Westy cabinets.
-This car was purchased new in Toronto.

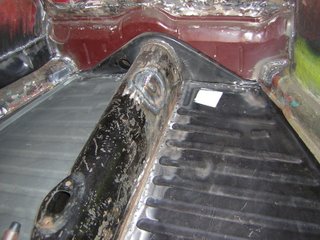
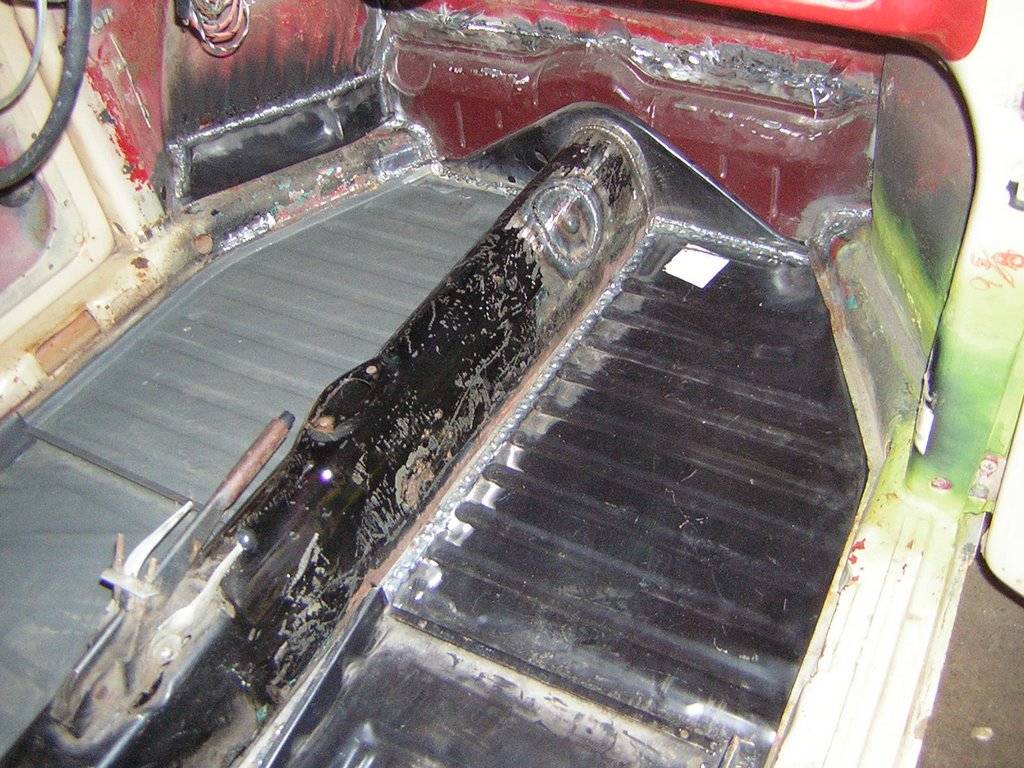
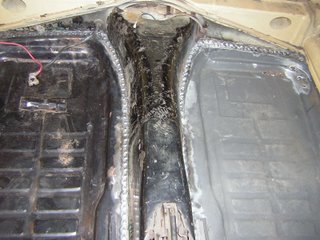
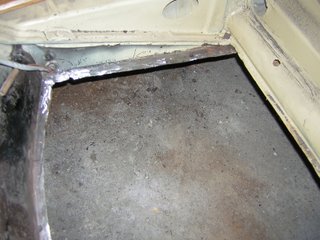
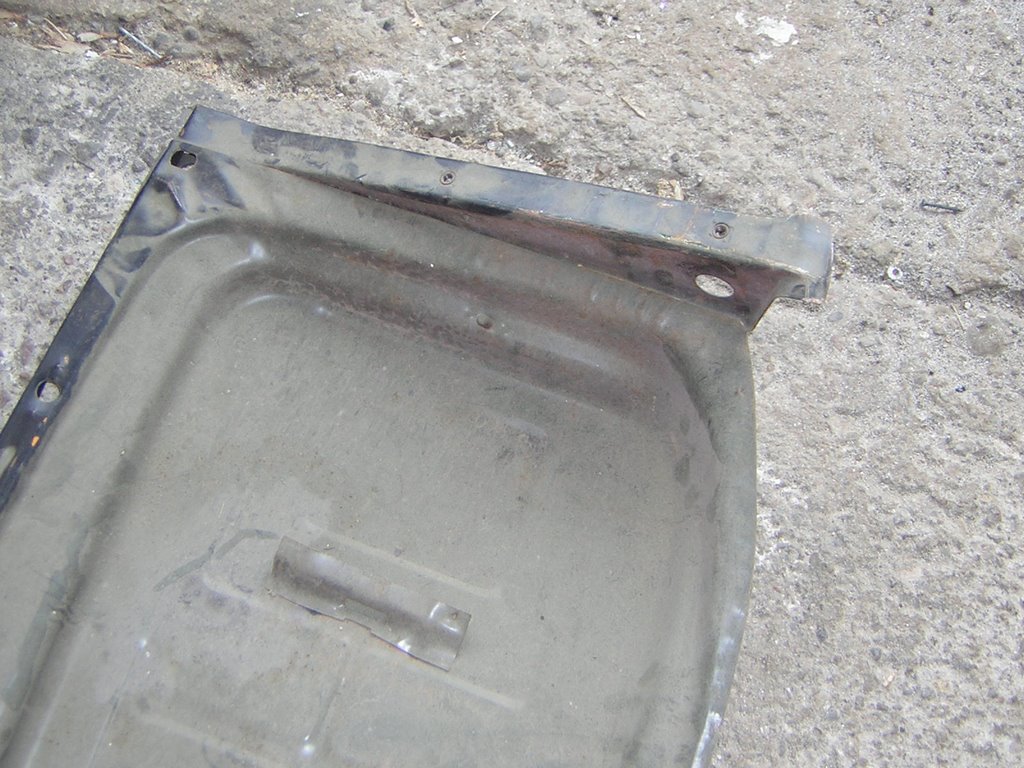
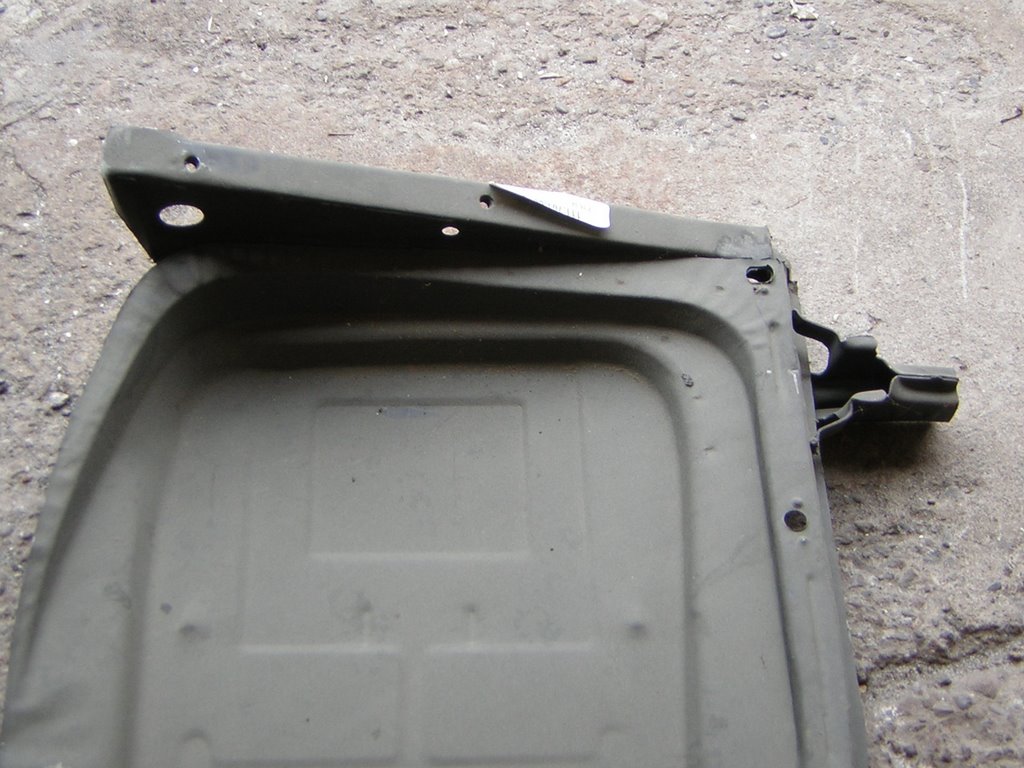
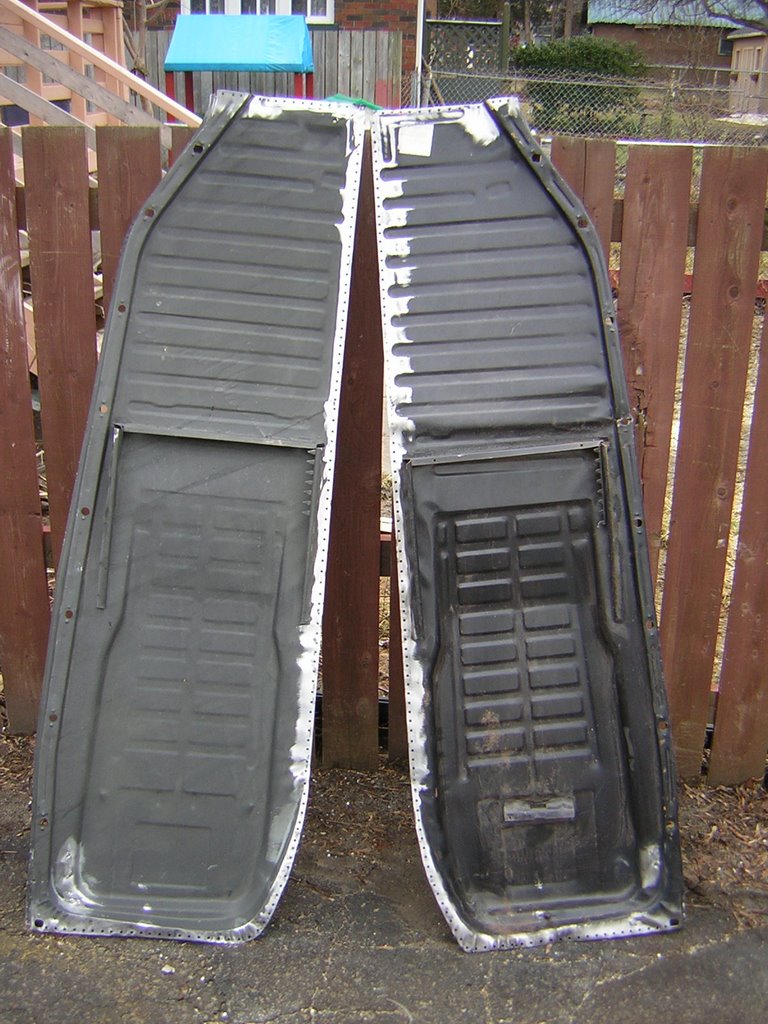
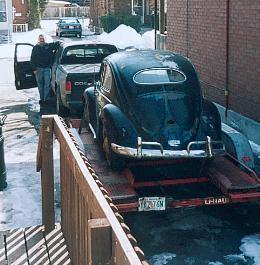
#3 - 1966 SINGLE CAB TRANSPORTER TYPE II (THE RUSTBUCKET OR SHITTY SPLITTY)
-well, this one is as bad as it looks, but it paid for itself already.
-the whopping $200 purchase price was offset by selling the siezed engine for $100 and the crusty gas heater for $100
-this one needs a full resto starting from the frame to the tops of the rockers
-it is a long term project, but we'd rather work on it than split it up for parts

#4 - 1956 TYPE 1 (THE CROWN JEWEL)
-okay, it doesn't look like much, but this is the only one I would never sell
-this is my dream VW
-it will eventually be restored to original specs with a 36HP engine from my collection of parts
-I am in no hurry to finish this one. I want to make sure every part I put into it is correct.
-when complete this car will be a trailer queen, I doubt we'll take it for more than Sunday drives
-some say I should scrap it and buy a finished one from California, but I can't wait for the thrill of turning the key and driving off in a 50 year old collection of German parts that I have cobbled together. The coolest part? This has always been a Canadian car. I just got the birth certificate from the Wolfsburg museum and this car was delivered to and sold in Vancouver in 1956.

OTHER VW'S I'VE OWNED OVER THE YEARS:
1970's BUG
-I was five. It was my first bug. Actually it was my dad's. The story goes that he bought it for $100, drove it home, took it apart with my brother and I, then sold it for $200 in pieces. We have pictures of me sitting on the hood. I can remember going tobogganing in the upside-down hood from this bug!!!

1979 BRADLEY GT
-Bought on a whim - the name was right. Sold on a whim for too little money.
-a cool kit-car, but severe ergonomic issues and driveability problems
-the real reason for selling - I couldn't practically see spending time and money on something I'd likely never be able to easily get in and out of. Besides, I needed the cash at the time.

1972 EUROPEAN SPEC SUPER BEETLE
-Somebody traded me this running, driving car for a canoe and trailer I had for sale
-it only needed front rotors to certify (front rotors??? yes, European cars came with disc brakes even in '72. even funnier - the Orillia, Ontario Canadian Tire store had a set in stock!!!!! I think they'd been there for many years - a custom order gone bad.)
-after about 250 km the stop leak the PO put in the oil stopped working. I'm sure the oil plume from this engine was a main contributor to the hole in the ozone layer.
-I sold this car for $2000 cash. A good deal for a canoe and trailer. I wish I'd kept it though. If I knew then what I knew now, a set of rebuilt heads at $99 / piece would have fixed the problem.
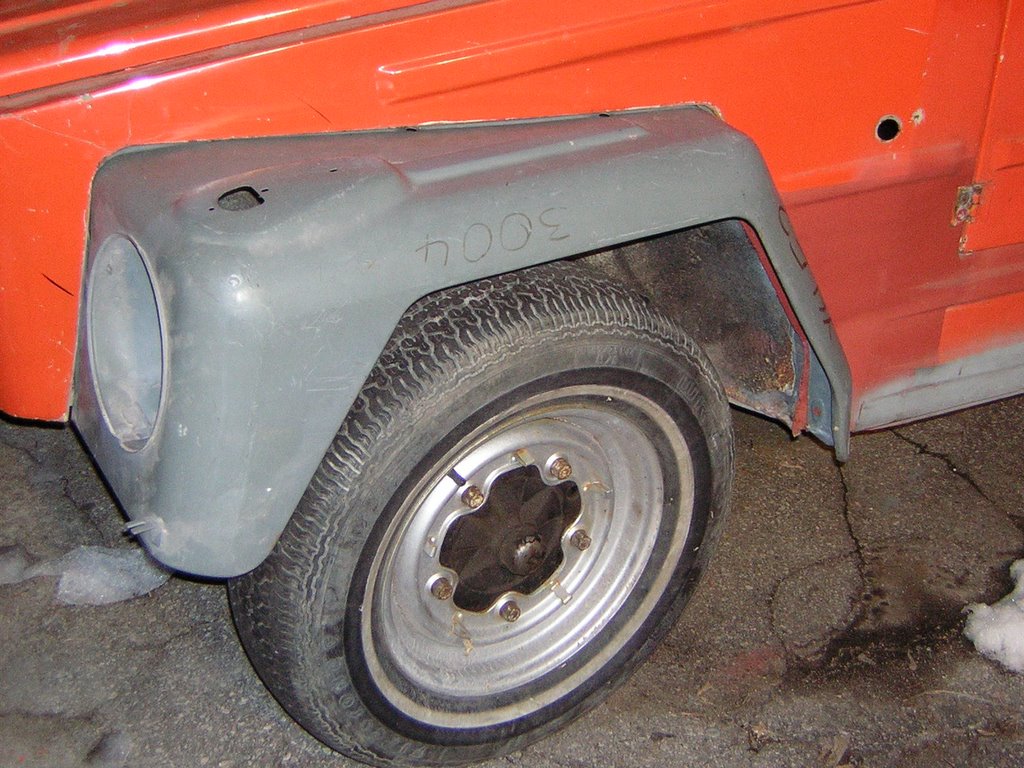
1974 THING
-see the "SOLD" postings below.

1992 GOLF
-traded a garden tractor that was given to me for this car, the owner though the engine was siezed.
-actually the alternator was siezed. I cut off the alternator belt, put in some fresh fuel, and it started up perfectly. Replaced the alternator and belt with used items for $50, sold the car for $900 a week later

1994 JETTA DIESEL
-my first and only diesel
-a cool car with a rebuilt engine
-not sure how good the rebuild was, engine always ran hot, a/c cut out to prevent overheating
-drove this car to the meeting that got me my first big (and to this day biggest) single purchase order for packaging!!!
-traded it for my 2002 Dakota and got good value for the car. no regrets, except next time go for TDI!!!!

Thursday, March 16, 2006

Bob's Bug - Front Driver's Inner Fender Patch


The next step was to install an inner fender replacement panel. The panel was test-fit in location, marked, then cut to size with an air-shear tool. Next it was finessed back in place and tack-welded in location. The butt welds were then made solid, and the lower flange rosette welded to the heater channel. All welds now need to be ground so the patch is indistinguishable from the original metal.

Bob's Bug - Front Firewall Replacement


The first step in the front firewall replacement was obviously to remove the old one. I completed this task in the "rip grind and burn" days. Next I had to modify the replacement part that came with the bug as it was designed for a pre - 1968 vehicle. The only difference is a stamped protrusion across the top of the firewall. I used a pair of shears to relieve the tension of the metal, then a hammer and dolly to shape the part to the required shape. I went back over the seams with the shears to remove the excess metal, leaving a perfectly flat piece, and a piece suitable for installation in the bug.

The actual welding in place was fairly straightforward. It was first tacked, then welded in solid. It just needs a finish grinding now.

When the floors are installed and bolted to the heat channels I will lift the front body off the front cross member and install the new body to pan seal.

Wednesday, March 15, 2006

Bob's Bug - Lower Front Frame Head Installation


It's been a while since my last "Bob's Bug" post, but I have been actively working on the car. Here are some pics of the lower frame head panel installation. This one was a little tricky to get in place. Since the upper frame head lip was pretty butchered from the removal of the rotten lower frame head I had to use a hammer and dolly to straighten it first. Then I had to adjust for the fact the front cross-member wasn't original, and line everything up so it fit perfectly. Once I had it tacked in I ran a full bead of weld everywhere! In order to get it pushed up into position I lowered the car onto some strategically placed jackstands to push the panel exactly in to place. All that is left on this particular piece is to rosette weld the inner lip to front cross-member joint (where the floor attaches) and a solid weld across the tunnel at the rear of the piece. I'm holding off on these welds until everything else is buttoned up in this area.

Monday, March 06, 2006

SOLD! - 1974 VW THING


Up for grabs is this 1974 VW Thing! I purchased this vehicle last year and am forced to sell it now. The car runs and drives and only needs final prep, paint, and possibly a new convertible top ($250 from www.cip1.com) and it will be ready for the summer! Please contact me at 905-720-0738, bschmidt@repco.com or see this car listed in my Ebay listings at: http://search.ebay.ca/_W0QQsassZbradguy2

I purchased this vehicle from a retired autobody shop teacher. This car spent most of its life in his school shop awaiting repair. Most of the bodywork done was completed by him or his students under his instruction. A VHS video documenting the process is included with the sale. Before leaving his job he fabricated new panels for repair of the passenger side, which I completed yesterday. All repairs have been executed to the highest order - all steel with no bondo. In fact, from the back of the car to the front wheel wells is completely bondo free! The front clip has been massaged with bondo over the years and will need some attention, but the steel underneath seems solid and straight.

Lots of parts and high value items are included in this sale. Check out the New Old Stock (NOS) VW front fenders! These alone would sell for $400 each on Ebay! The side windows are rare to find in such good shape as originals. The lower windshield frame was purchased as a used replacement at a cost of $250US! Here's a list of everything included. If you don't see it, ask!!

-MAIN ROLLING BODY - PATCHED, WELDED, SOLID & COMPLETE
-SOLID REAR FENDERS
-NOS FRONT FENDERS
-SOLID FRONT AND REAR BUMPERS
-PERFECT REAR DECKLID
-SOLID FRONT HOOD
-PERFECT RUNNING 1600DP ENGINE WITH ALTERNATOR
-ALL HEAT DUCTS
-NOS FENDER BEADING
-SEAT BELTS
-ALL ODDS AND ENDS TO FINISH!

Please call me at 905-706-0729 (daytime) or 905-720-0738 (evening). Or, email me at bschmidt@repco.com to set up a time to view.

Like I said, I will consider all offers. I can deliver anywhere in Southern Ontario if my gas is covered.

You will not find a more solid VW Thing for sale in Ontario!

Please check out the next 2 posts for more details!