Monday, February 27, 2006

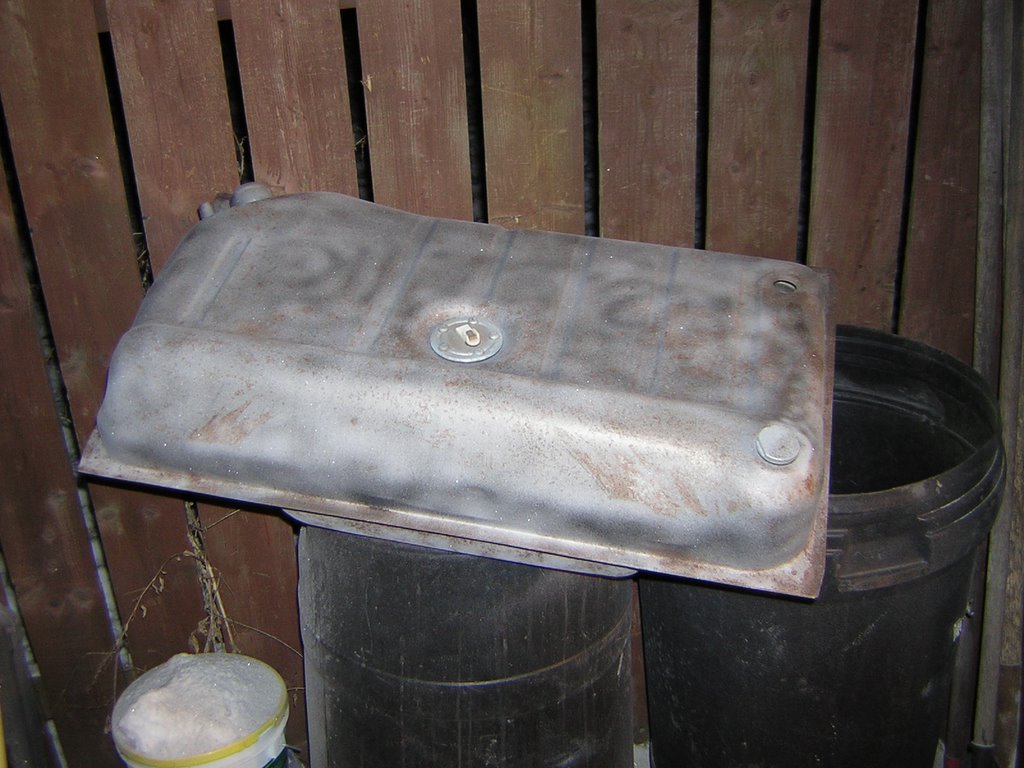
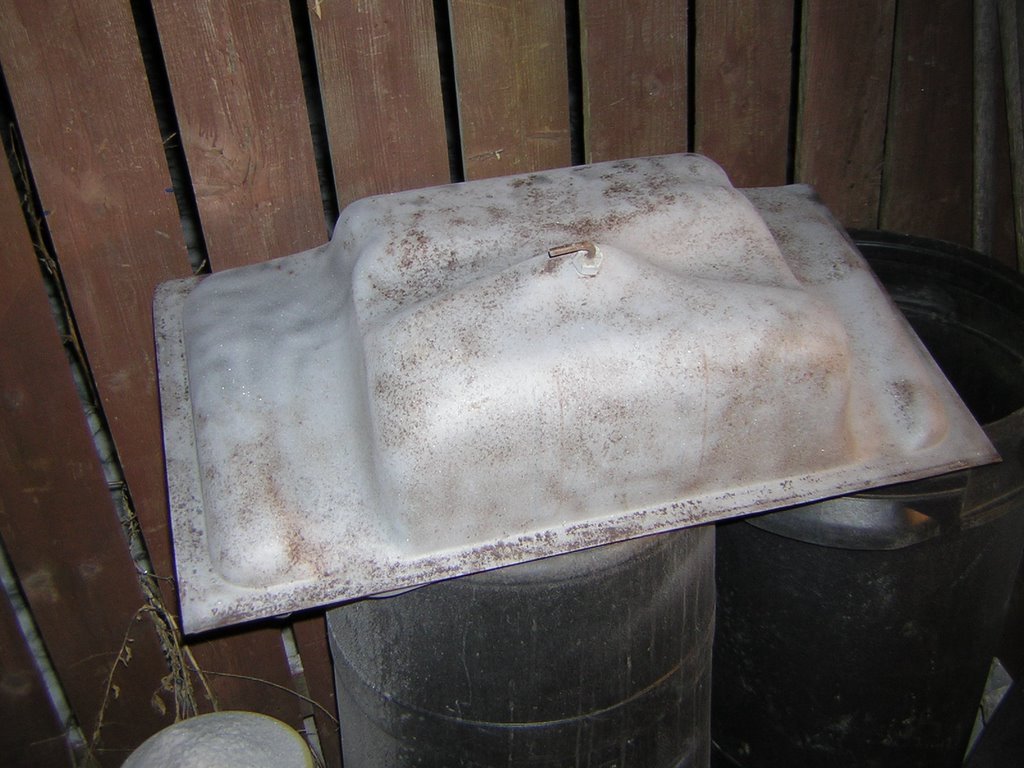
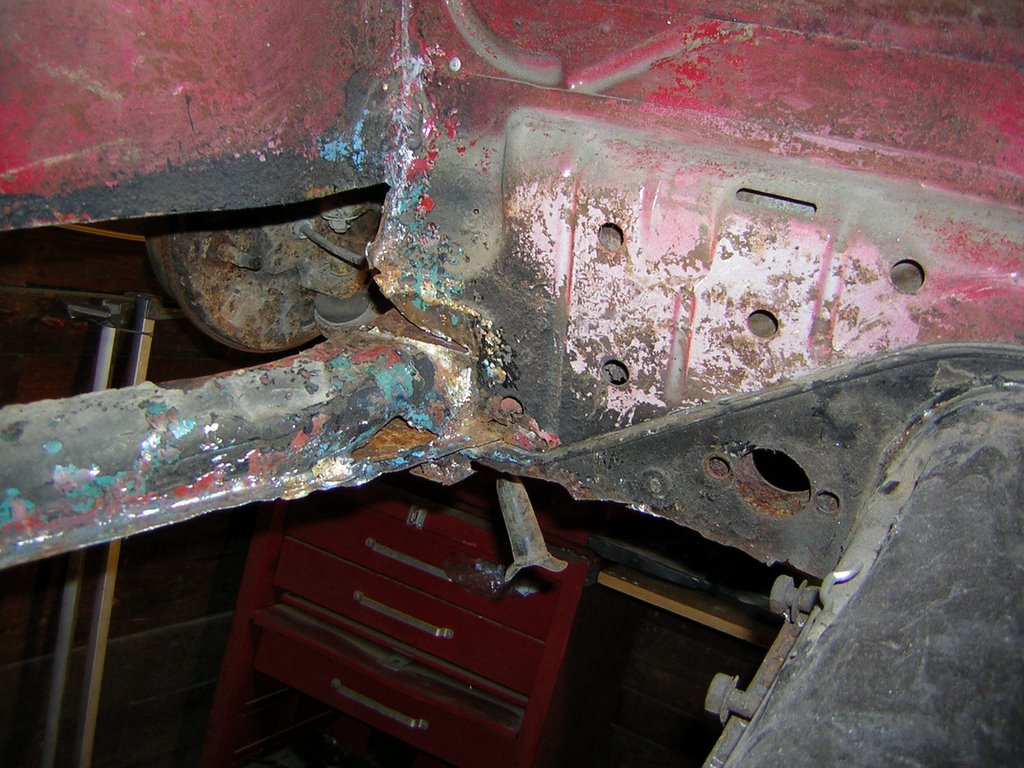
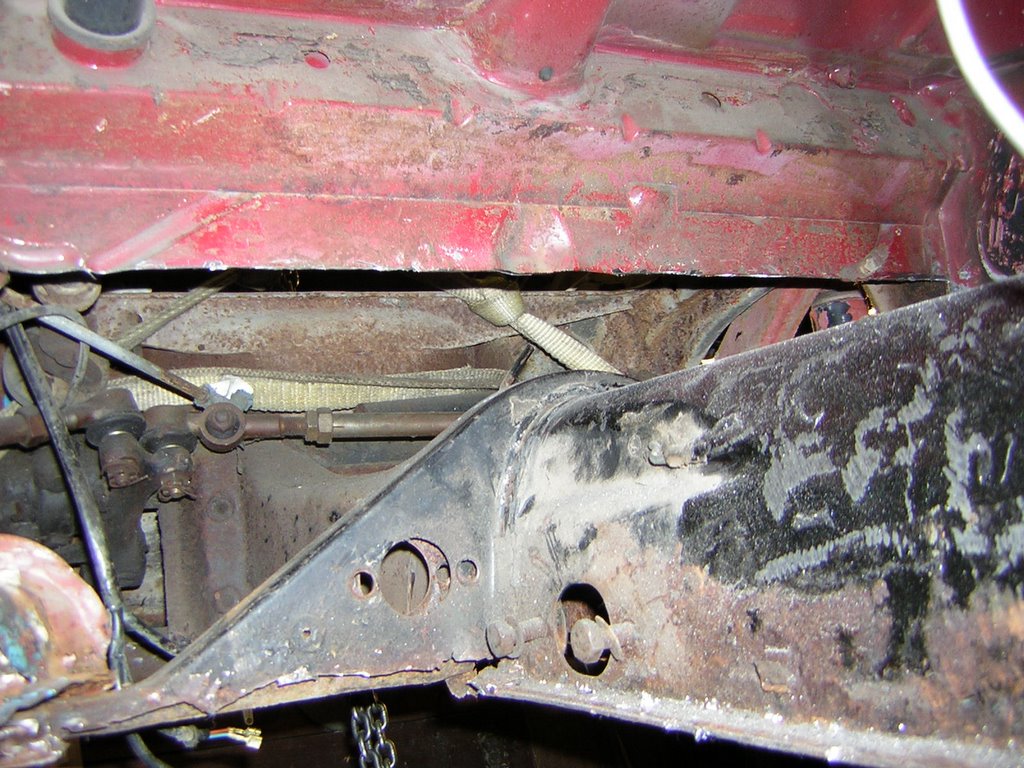
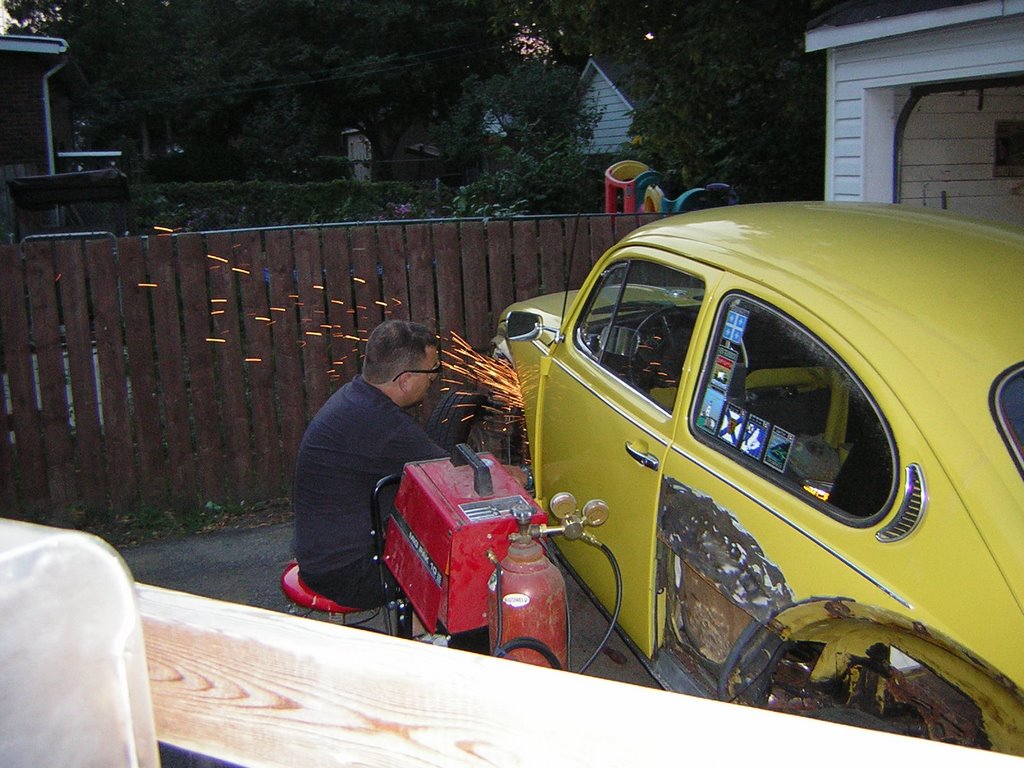
Bob's Bug - Front Cross Member Replacement


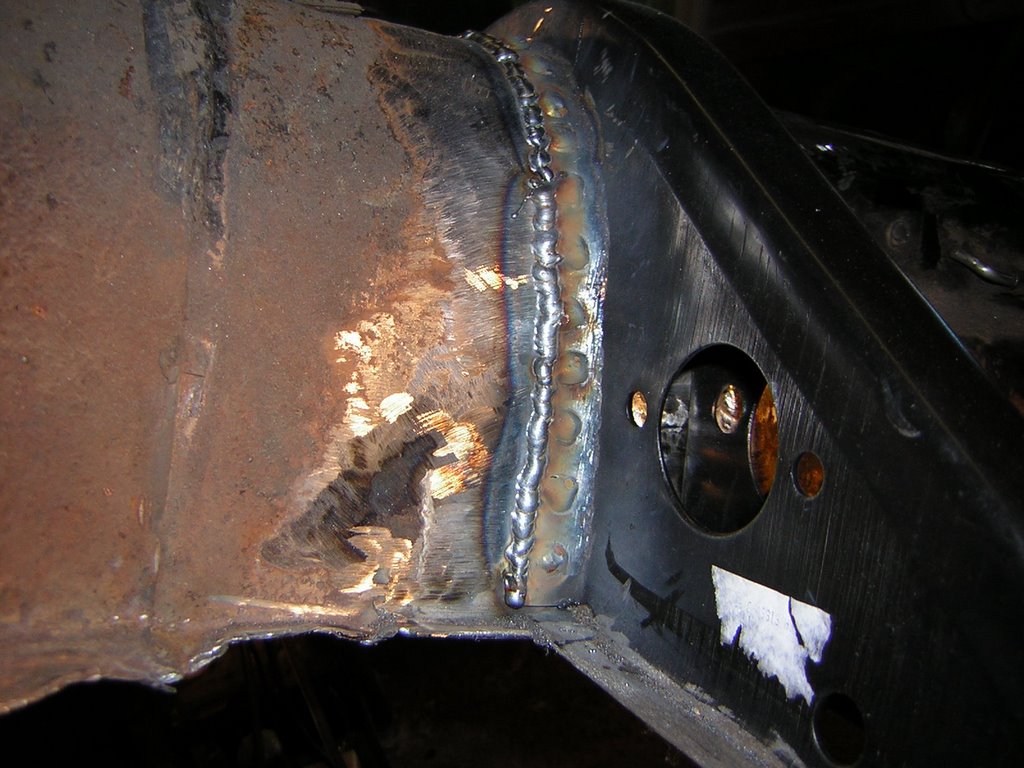
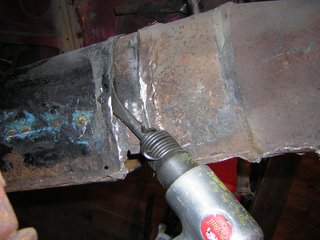
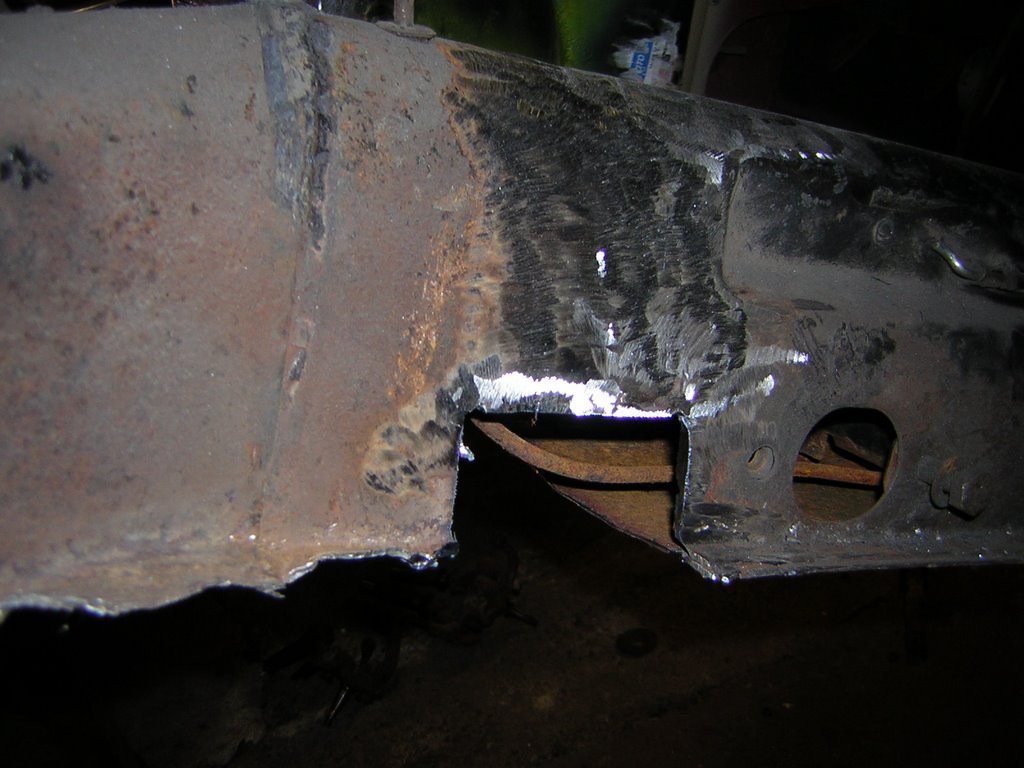
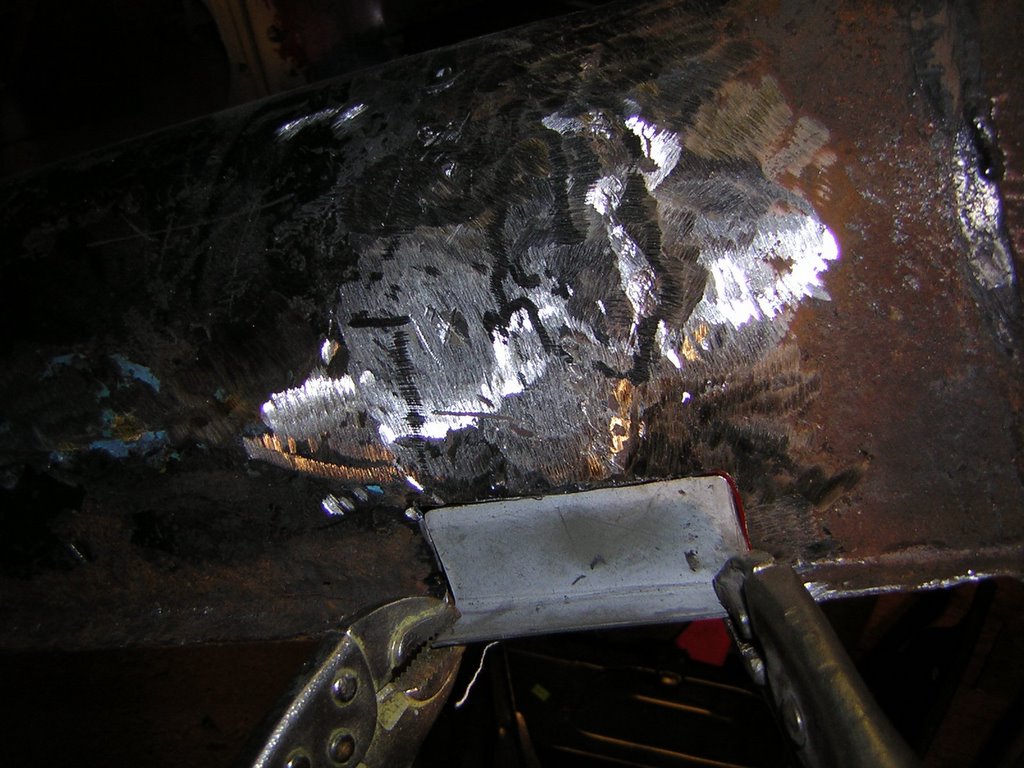
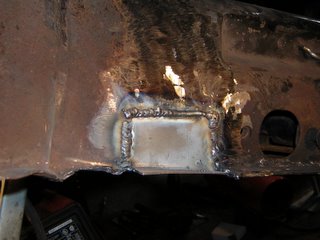
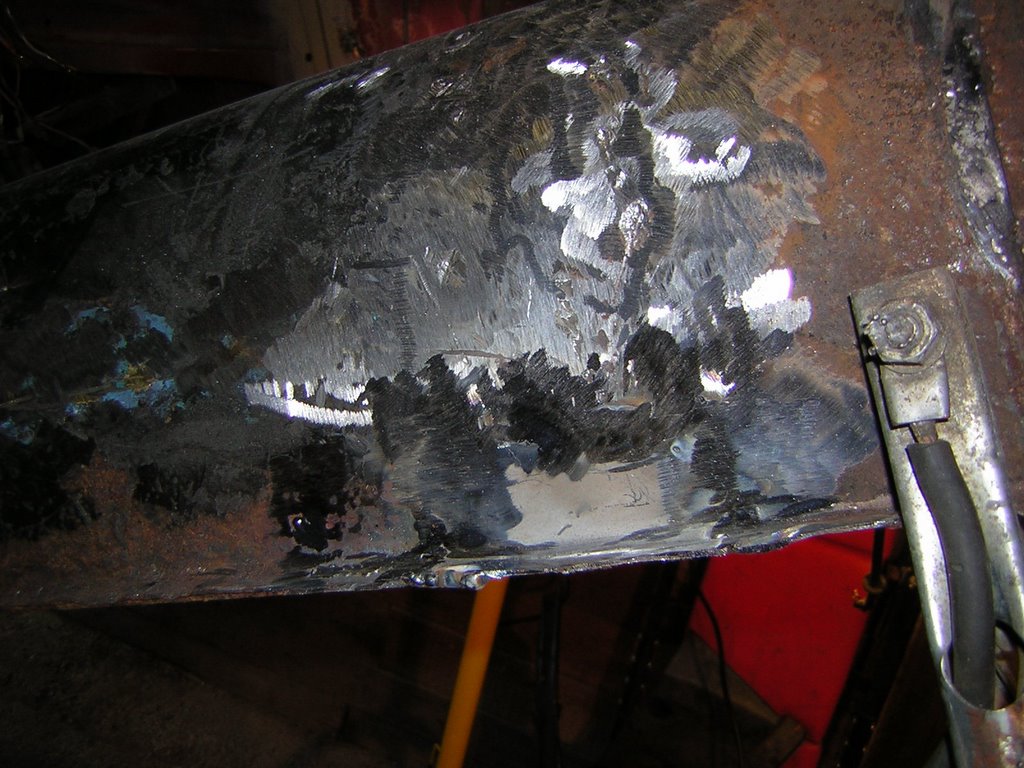
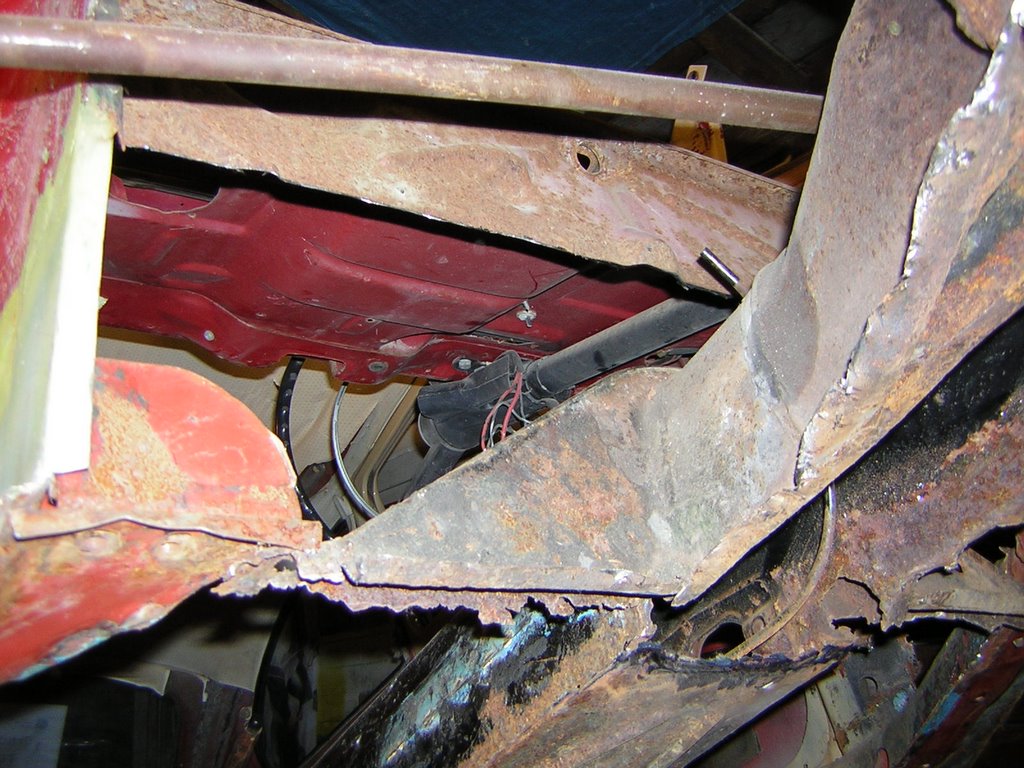
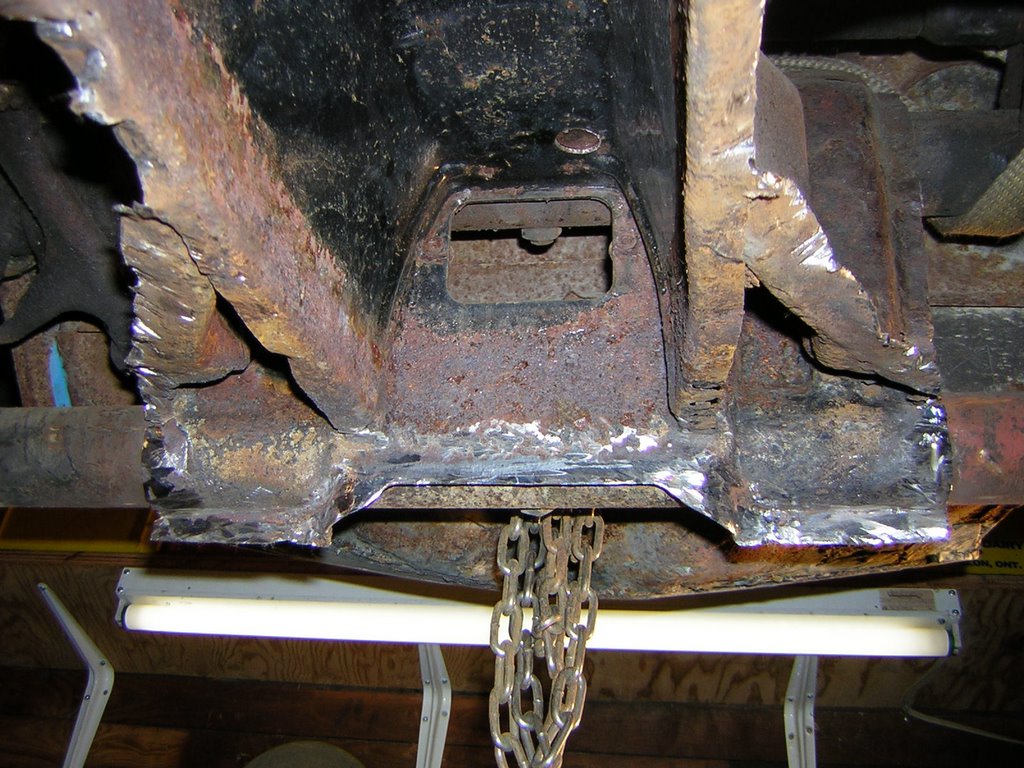
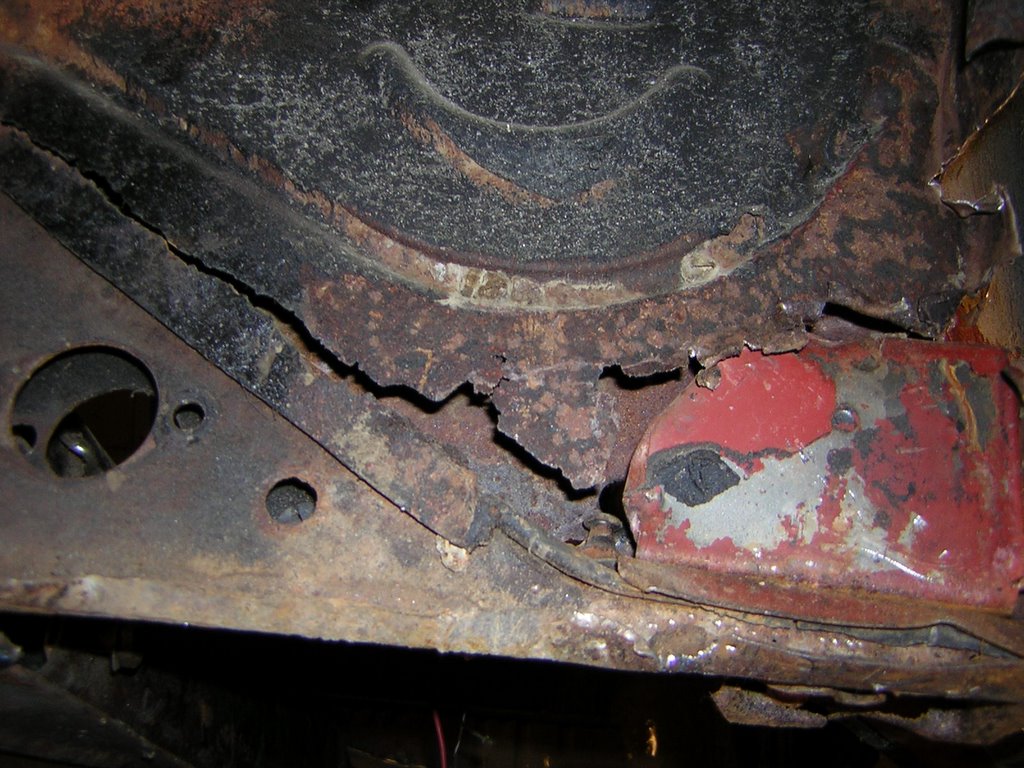
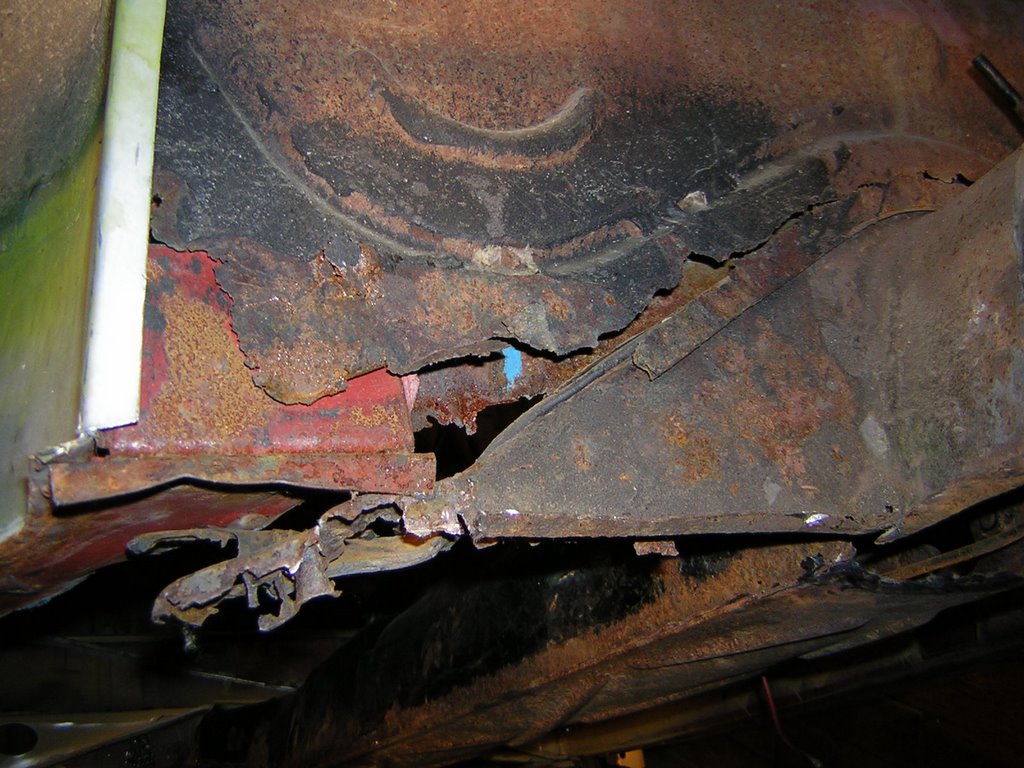
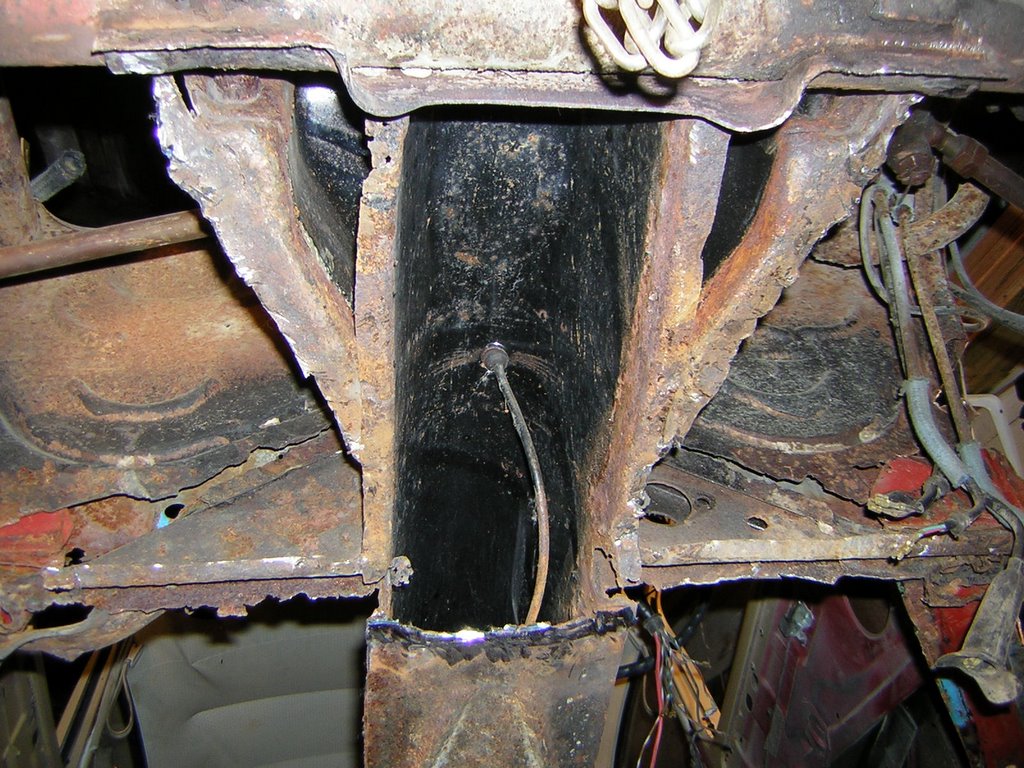
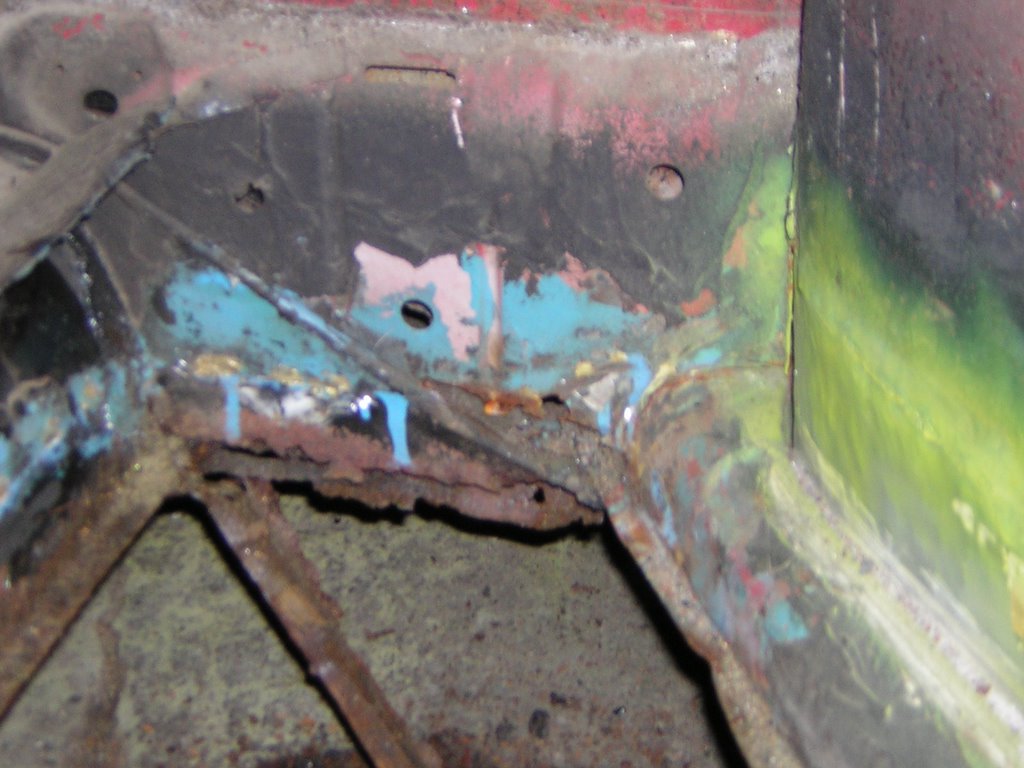
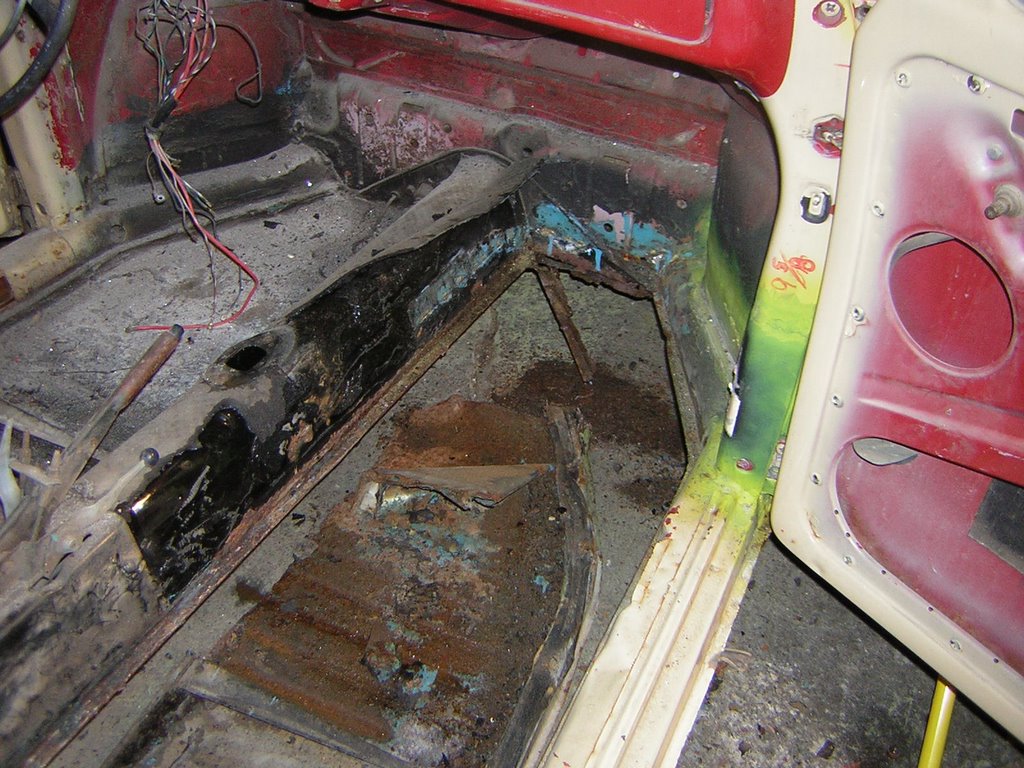
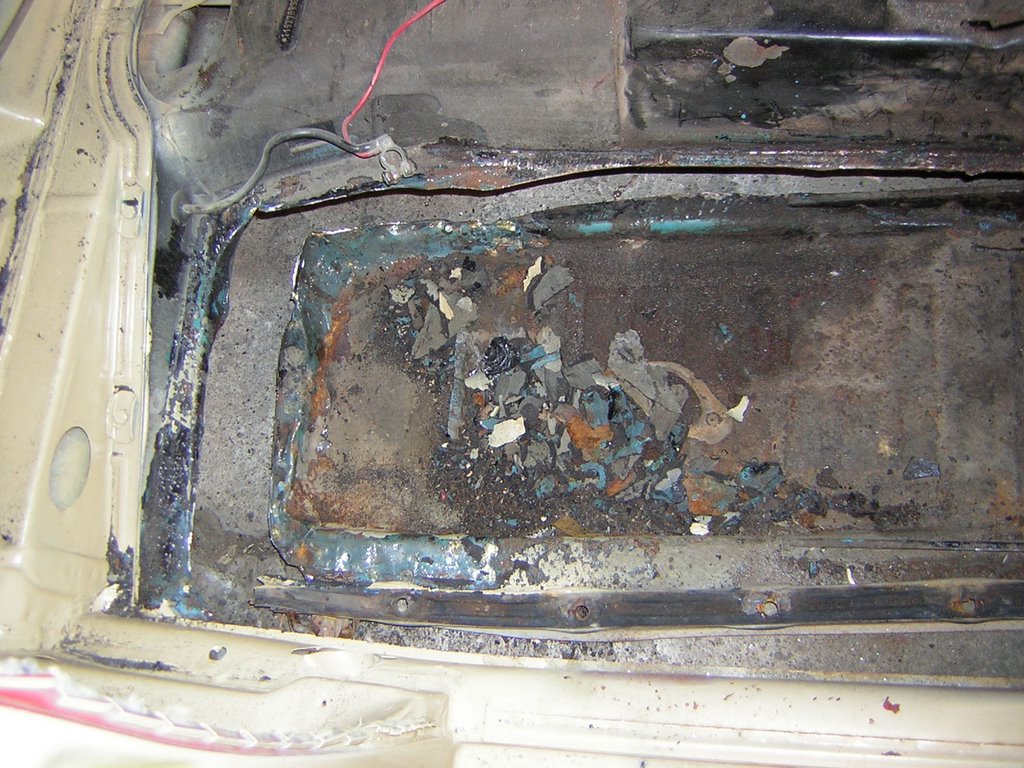
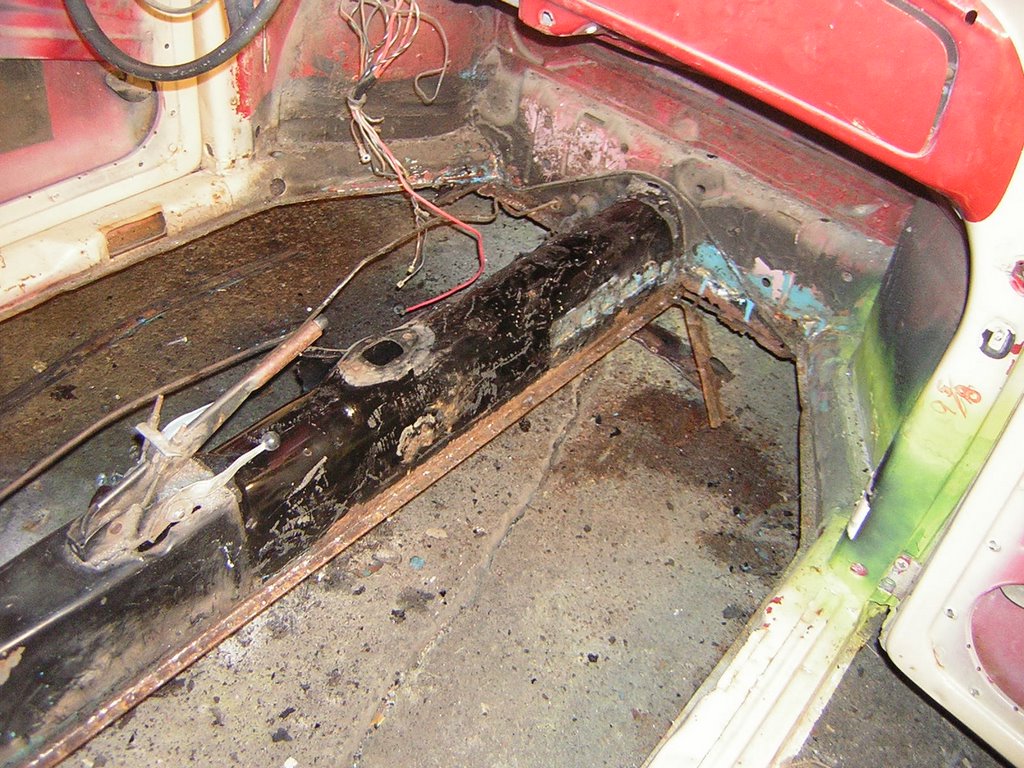
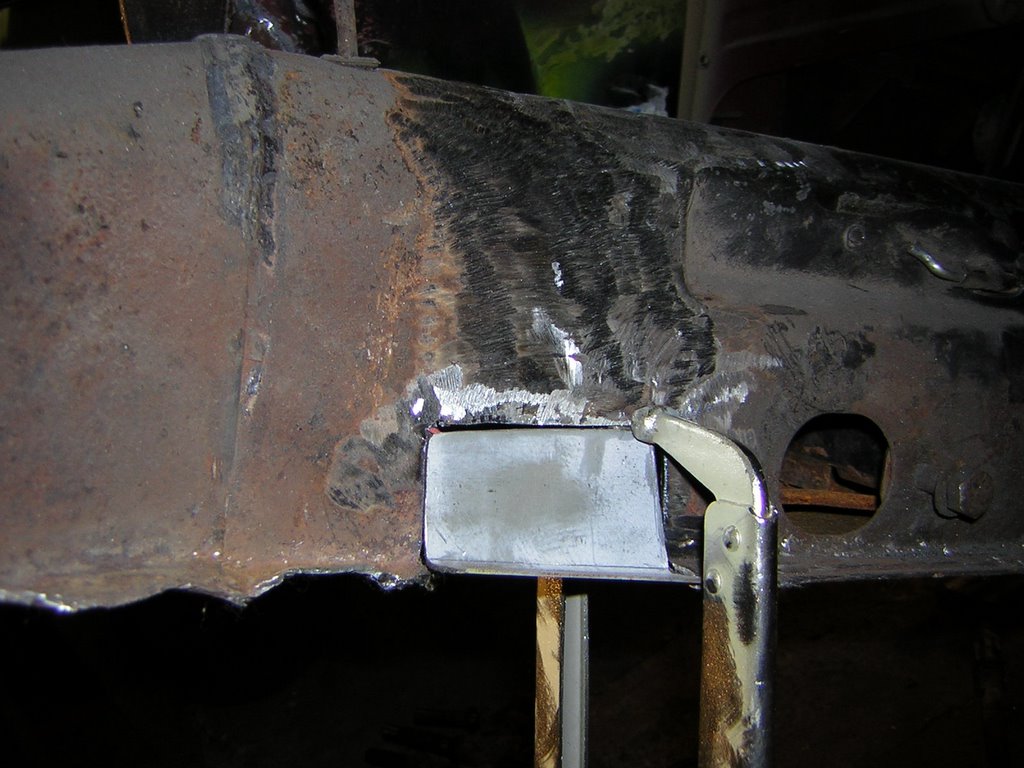
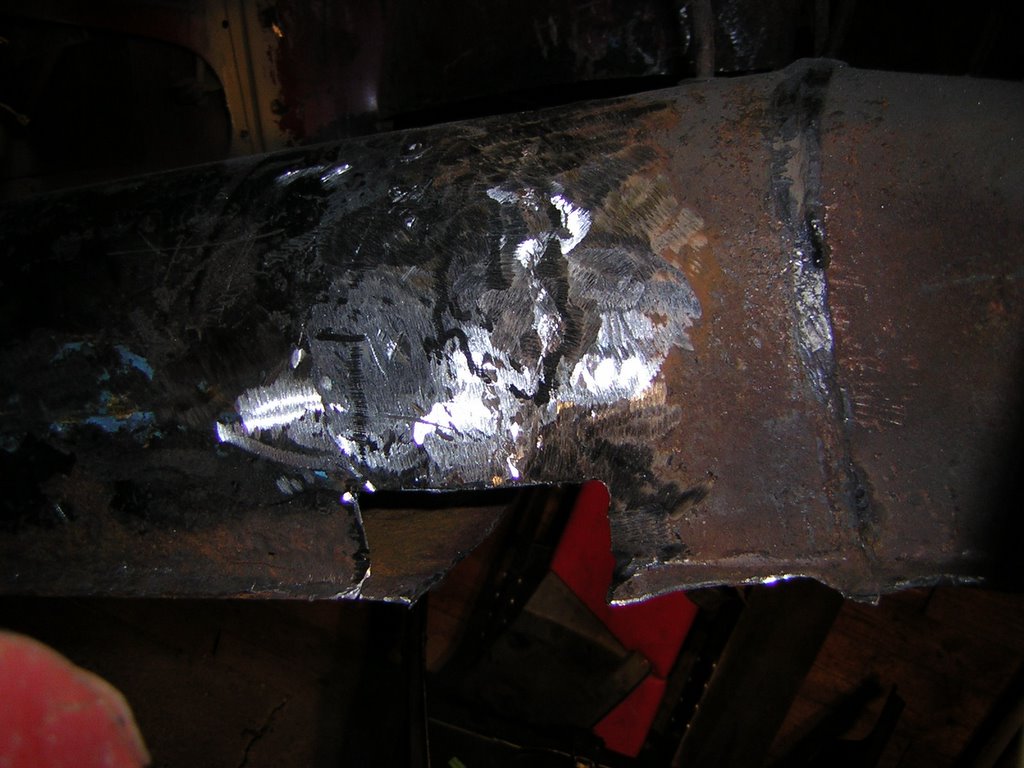
These pics detail the preparation and installation of the new crossmember. Note the holes punched with an air-operated punch-flange tool. This facilitated rosette style welds to mimic the factory spot welds. I felt a full bead was also necessary for strength. This area still needs to be ground flat.

Bob's Bug - Front Cross Member Removal


Here are some shots of the front cross member removal and prep...

Bob's Bug - Front Tunnel Patches Under Cross Member


There were two significant areas of rust on the tunnel itself under the rotten cross member. As you can see, pieces of 18 gauge cold rolled steel were cut to size, welded, and ground to make an invisible repair.

Bob's Bug - Gas Tank and Front Brake Backing Plate Sand Blasting


I finally got to try out my 5 Gallon Pot Style Pressure Sandblaster from Princess Auto. Even with the largest ceramic orifice my compressor kept up with it handily! After about 45 minutes and two $10 bags of sandblast abrasive you can see the fruits of my labour. I have forwarded these items to my dad so he can prepare the bare metal and paint the parts.

Bob's Bug - Front Firewall and Inner Fender Panel Removal


Here you can see the removal of the front driver's side inner fender panel (viewed from inside) and the rotten front firewall.

Bob's Bug - Rip Grind and Burn - Exposing the Carnage


The next step was to put the air tools and angle grinder to good use and continue eliminating the cancer. Check out the condition of the front crossmember, front firewall, and lower front apron pan (removed)!

Bob's Bug - Floor Removal


The first order of business on this restoration after inventorying the parts and cleaning shop was to remove the tired floors. Since the addition of a Porter Cable 60 Gallon 7HP 240V compressor to my shop in December, some of the air tools in my shop have taken on a new life; the air chisel has proven itself to be invaluable! The rearmost section of the floor was solid enough to leave it in place. I will cut and flange this later to accept the replacement pans.

Bob's Bug - Introduction


Here is the 1969 Bug I'm restoring for my Dad. I made a trip with my wife to Gatineau QC to pick it up from the previous owner, Sylvain. This was taken moments after we arrived home. We towed it with the good wheels and tires from my '72 SB and my heavy duty towbar. The car has been worked on heavily already and has been perfectly patched from the rear to just in front of the door. First inspection indicates it will need replacement of floors, front lower apron, front chassis cross member, front firewall, and an entire front clip. Oh, and an engine, complete wiring harness, full interior, front windshield, front beam, wheels, tires, etc., etc., etc.

Friday, February 10, 2006


Hello,

Welcome to Brad's Project Blog. My intention is to keep all of you up to date on my many projects - mainly Volkswagen restoration and home renovation related. I talk alot about my hobbies but until now never had the means to show along with the tell. Hopefully I can go back in time and post some of my past projects as well! So keep checking back!

So who am I? Well, to start I'm the guy grinding on
the yellow '72 SB in the top picture. I'm also a proud Canadian guy with alot on the go. I enjoy camping in Ontario's beautiful parks, biking, skiing, renovating, and most of all, restoring and driving air-cooled Volkswagens. We even took the '72 SB for a 5000 km jaunt from our hometown in Oshawa, Ontario to the East Coast of Canada and back through Maine and Vermont last year!


The bottom picture is one I took of my wife Vanessa, and my Weimaraner Ashley, canoeing at Restoule Provincial Park near North Bay.

So now you've met me and the family, so let's get on to the project updates...

Brad.