Bob's Bug - Floor Replacement Part 2 - The Installation
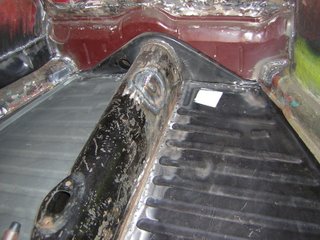

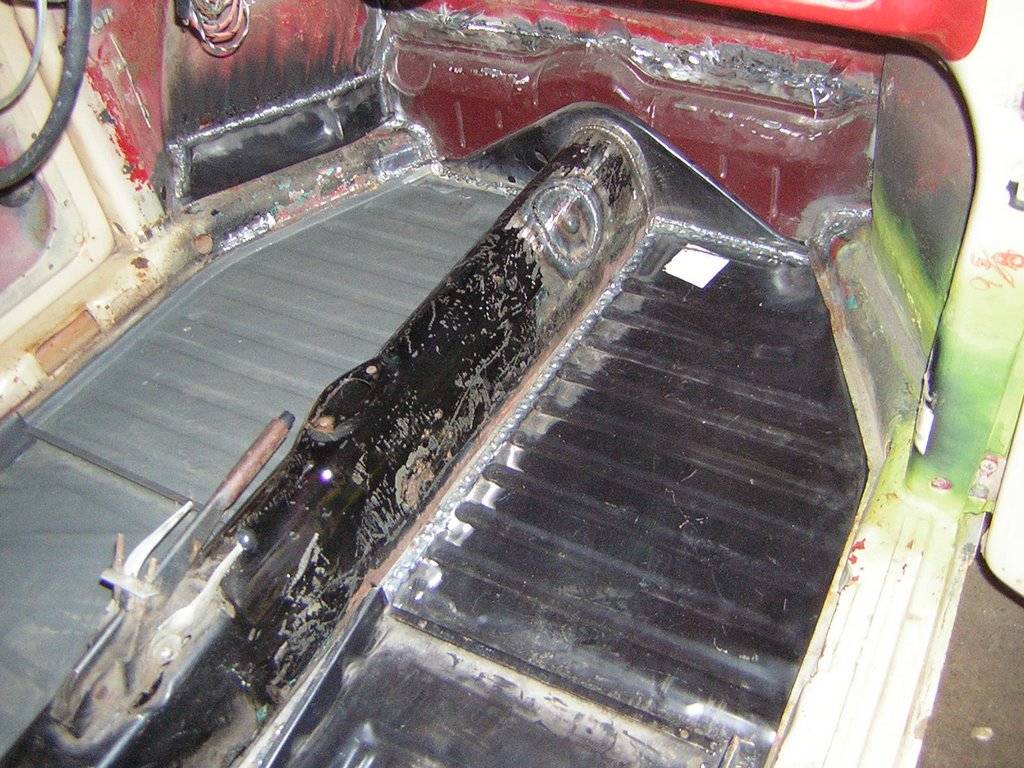
The first two images here show the initial trial fitting of the floors. Surprisingly, everthing fit together without much problem - a bit of a relief since the alignment of the front crossmember could really affect the fitting of the floors. I temporarily bolted the floors to the heater channels in two places on each side. Next I used a large clamp between the tunnel and the seat tracks to pull the floor into position on the tunnel flange. Once aligned I worked my way out from the centre of each floor, rosette welding in each punched hole. In some cases (at the front and back) I chose to run a full bead of weld as well.
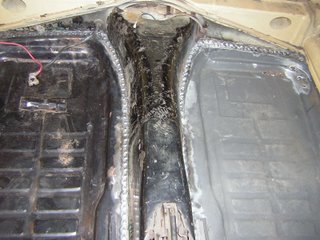
The bottom two images show the pans installed. To finish this process each rosette weld can be ground down to resemble the original spot welds. Seam sealer should also be used top and bottom to prevent the ingress of water. Finally, the body should be lifted and the body to pan seal re-installed and the body fully bolted to the pan.
posted by Brad @ 9:57 p.m.
![]()

<< Home