Bob's Bug - Front Firewall Replacement
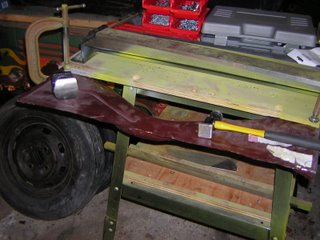
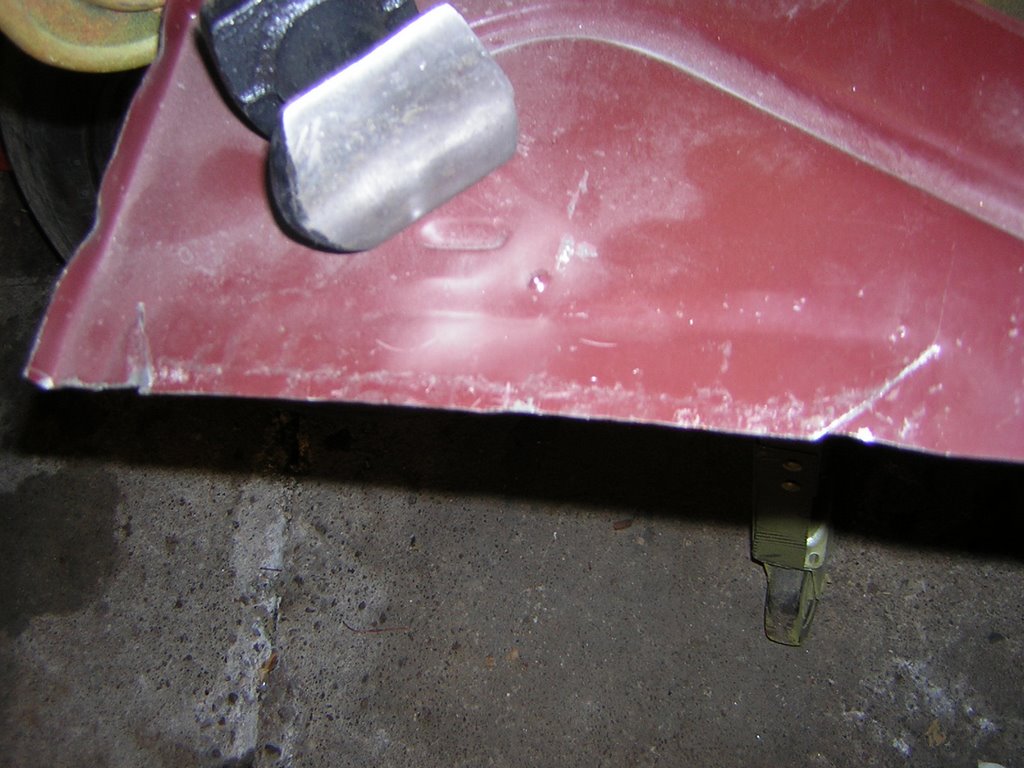
 The first step in the front firewall replacement was obviously to remove the old one. I completed this task in the "rip grind and burn" days. Next I had to modify the replacement part that came with the bug as it was designed for a pre - 1968 vehicle. The only difference is a stamped protrusion across the top of the firewall. I used a pair of shears to relieve the tension of the metal, then a hammer and dolly to shape the part to the required shape. I went back over the seams with the shears to remove the excess metal, leaving a perfectly flat piece, and a piece suitable for installation in the bug.
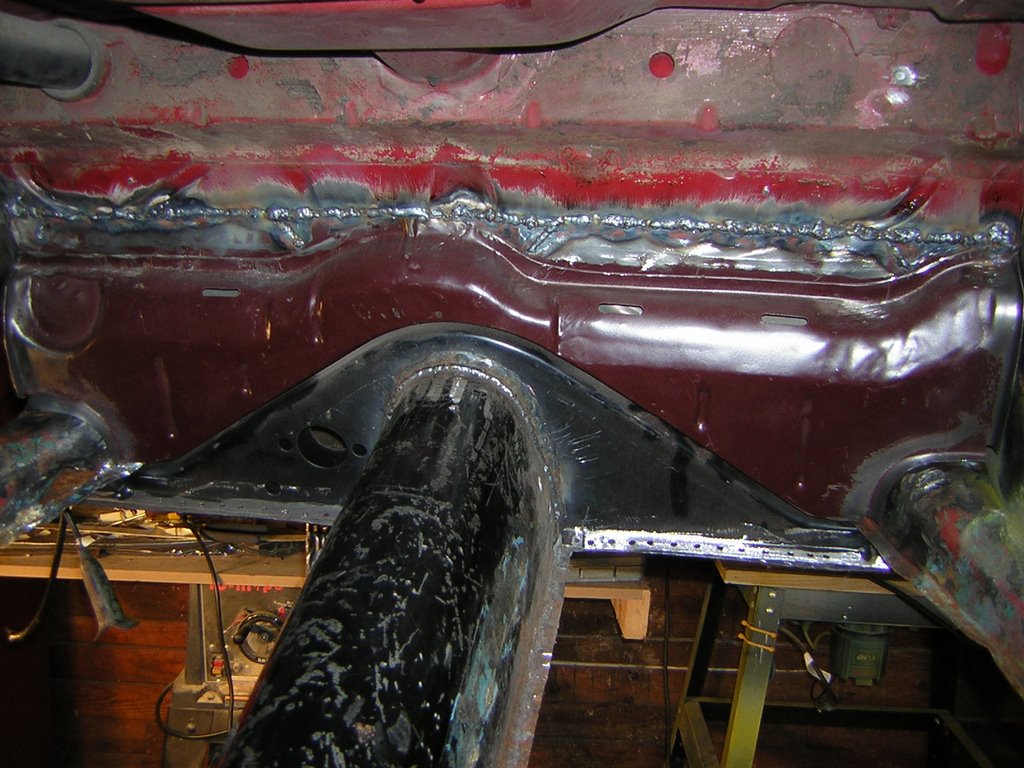
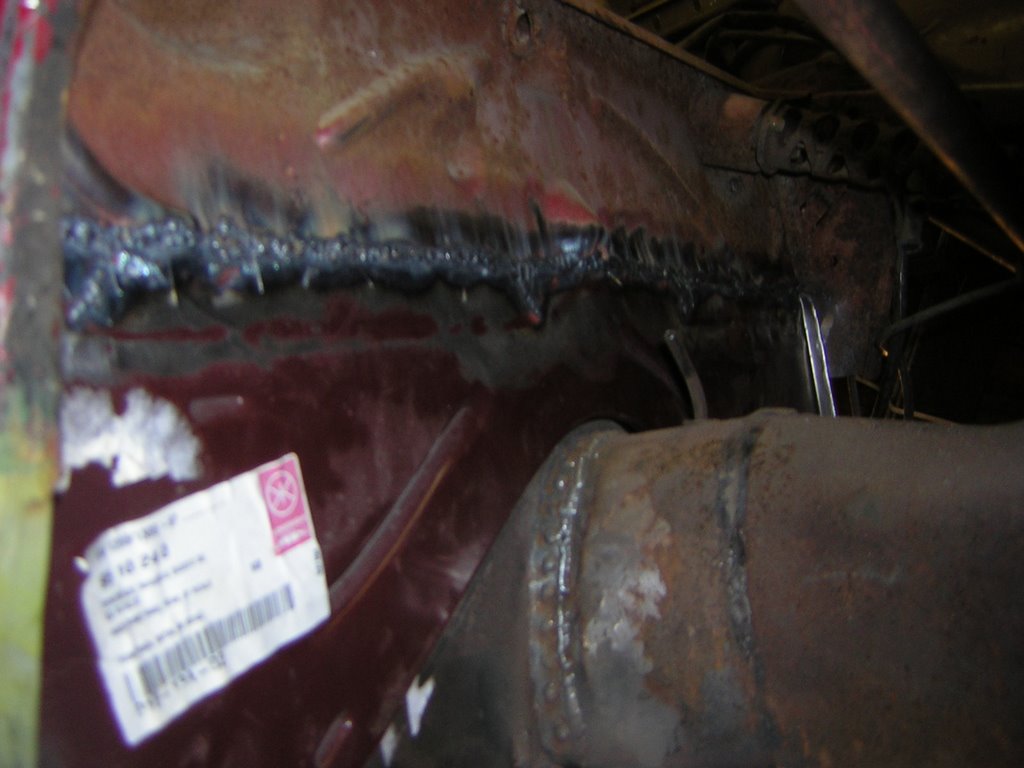
The actual welding in place was fairly straightforward. It was first tacked, then welded in solid. It just needs a finish grinding now.
When the floors are installed and bolted to the heat channels I will lift the front body off the front cross member and install the new body to pan seal.
posted by Brad @ 4:44 p.m.
![]()

<< Home