Bob's Bug - Floor Replacement Part 1 - Preparation

 The first step in replacing the floors, like many things, is solid preparation.
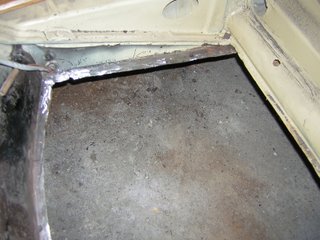
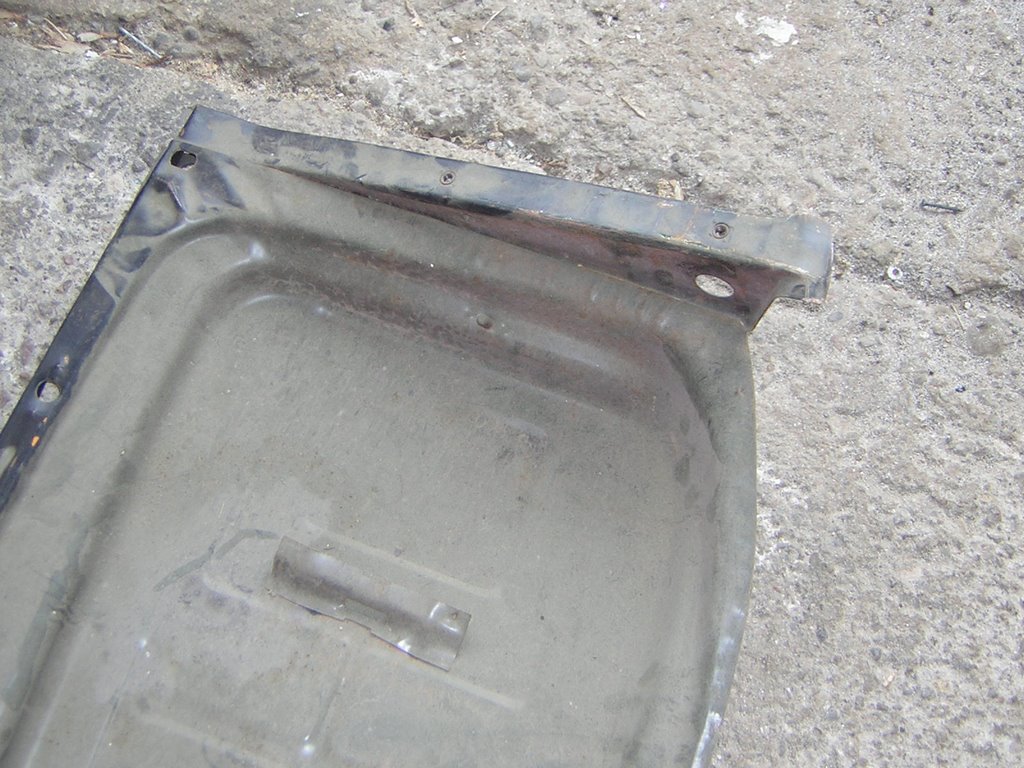
 In the first picture you can see how the remnants of the original spot welds on the main tunnel were ground down. Since the rear crossmember of the floor was still solid, original German (OG) metal, I decided to leave it and adjust the replacement panels accordingly. The second picture from the top shows one of the rear crossmembers cleaned up, with all traces of the original floor material removed.
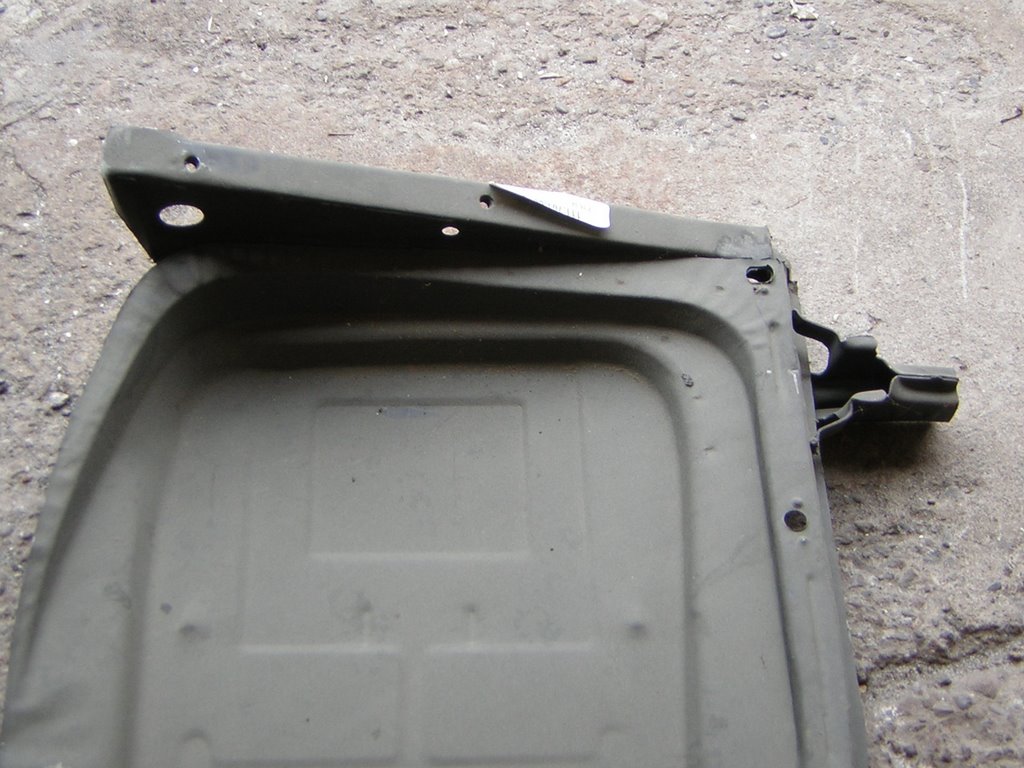
The next two pictures show the replacement floor pan halves. The rear crossmembers were still present here as well as the jacking points, both of which were removed for this application.
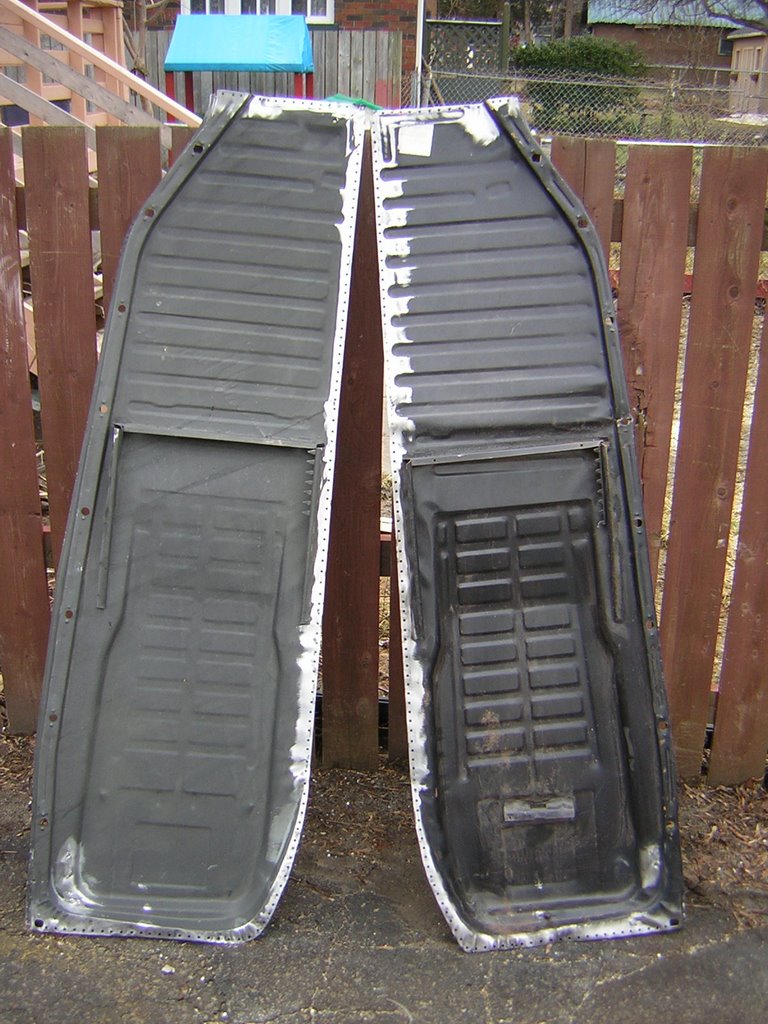
The final picture shows the floor pan halves fully prepped for installation - rear crossmembers and jackpoints removed, paint removed where necessary for welding, and holes punched along the inner flanges in preparation for rosette welding into the car.
posted by Brad @ 9:45 p.m.
![]()

<< Home