Friday, July 28, 2006

Our Miniature Collection - Fully Loaded


During a late-afternoon shopping trip at Winners I spotted these 1/6 scale "Herbie Fully Loaded" radio-controlled cars. They were listed at $59.99 each and are very detailed! Each one has a fully featured remote and also has full "hydraulics" so it will lift up, down, rock side to side, etc. They also have headlights, tail lights, turn signals, sound effects and horns. All this is activated from the remote! They also came with chargers and 9.6V battery packs. The car is 27 MHZ and the van is 49 MHZ.

I noticed the van had a small scratch and got an additional 10% off the asking price.

Right now they're charging up. I can't wait to take them for a spin. For now they are on display in our kitchen. When the "men's den" is done in the basement they will be stored there for easy access.

Now we just need to keep our eyes open for a 1/6 scale jet boat and trailer to put behind the van!!!!!!!

Wednesday, July 26, 2006

The Lime and The Toad Get Hitched


Some NOS (New Old Stock) and aftermarket hitches are still available for the VW Bus to this day. Most are out of sight price-wise and not particularly sturdy looking.

I decided to fabricate my own. A while back I bought some 1/4" wall thickness 2" OD square tubing and some angle iron for this project. It was scrap and I think it cost me $11.

Due to time constraints (lots of projects and plans fighting for my time) I decided to look for a suitable hitch to work with as a starting point. I found exactly what I needed at Princess Auto in an ACAR adjustable 1 1/4" receiver style hitch. These are regular $199 but on sale for $139. I found an un-boxed hitch and asked for a price reduction and got it for $79! It is a universal style with an oversized centre section and sliding end pieces that bolt to a typical SUV or pickup frame. These end pieces were far too short and the bracketry far too tall to fit the Bus so I opted to use the metal I already purchased to fabricate a main crossbar and then slide the commercially available centre section over it.

It actually went together quite quickly and bolted up perfectly between the bumper and frame with new 8.8 grade bolts.

I also had to splice in trailer wiring. Since the bus has amber turn signals a 3 to 2 wire converter was required. A little trick I learned was to look at surplus places like Princess Auto for "plug and play" style wiring kits for obsolete vehicles with amber signals instead of buying a universal kit. I picked up a 1995 Honda wiring kit for $6.99 as opposed to $26.99 and literally only had to snip the plugs off to make it identical...

So far I've taken the rig only around a big block. Everything seems to work!

Monday, July 24, 2006

Goose Island Tree Work - My Charitable Project


OK. Sorry for the sideways pictures. I forgot to turn them before posting... Last Monday, a week ago today, Sherry and Kevin weathered an extreme storm on their island, Goose Island, in Lake Nipissing. The storm was brief and destructive, downing over 20 trees on their property alone. The storm's wrath continued wiping out power for much of the week in Callander, Powassan, North Bay and elsewhere. It caused at least two deaths.

I received a call from Sherry Monday night asking for assistance to take a large pine off their cottage and to clean up a number of other dangerous trees.

I agreed and took Wednesday off, packed the Hyundai with all of the necessary paraphenalia, then drove the 3.5 hours north. I met Kevin at Hunter's Bay marina and took the trip across the water in his boat.

Over the course of the day I first dropped a severely leaning pine that was threatening their dock and boat, later cutting it an pulling it from the water, then spent time on the roof trimming the massive pine that landed on its corner. Eventually I cut the 30 foot top of the tree hanging over the roof (the trunk was still 12" diameter at this point), the blocked a few sections of trunk down, then tied it off so the main trunk could be pulled away from the cottage as I cut the tree at it's 24" diameter base.

The biggest project of the day was felling "Chico" - the long-dead pine leaning severely over their cottage. This tree didn't budge in the storm, but just looking at it made you fear for you life. I had Kevin fashion a weight to throw from the roof into one of the branches. He eventually got it pretty high and I was able to tie off a sliding knot and run it up around the trunk so I had a solid rope about 2/3 the way up the tree. Next I tied the rope up to another tree and used a come-along to apply tension. I cut a large notch and a small backcut leaving a lot of holding wood. We applied more tension and more tension again but the tree wouldn't budge. Eventually I increased the backcut a few times and noticed that our tension was enough to start pulling the tree in the right direction. A few more slices of the holding wood and the massive beast finally gave way, falling exactly where we wanted. This was a triumphant moment.

For the rest of Wednesday I cleared a number of other uprooted trees off the paths throughout the island.

When Vanessa and I returned on Saturday in The Toad I continued my work, cutting a large number of the trees into firewood and piling the brush.

The last picture is from Saturday night. After the cutting we decided to have a few drinks and roast marshmallows over the fire. Unfortunately the marshmallows had mostly fused together in their bag so I took pleasure in roasting the entire lump at once. The people in the picture from left to right are Vanessa, Sherry, Desmond (Kevin's friend from Toronto) and me with the marshmallow...

The Toad - Another Diversion


Last weekend we had the opportunity to visit Vanessa's friend, Gary Scott Breithaupt on his island in Georgian Bay. He tooks us out on his Campion centre console boat with a 90 HP Mercury outboard. It was a good time and a good test of Vanessa's enjoyment on the water.

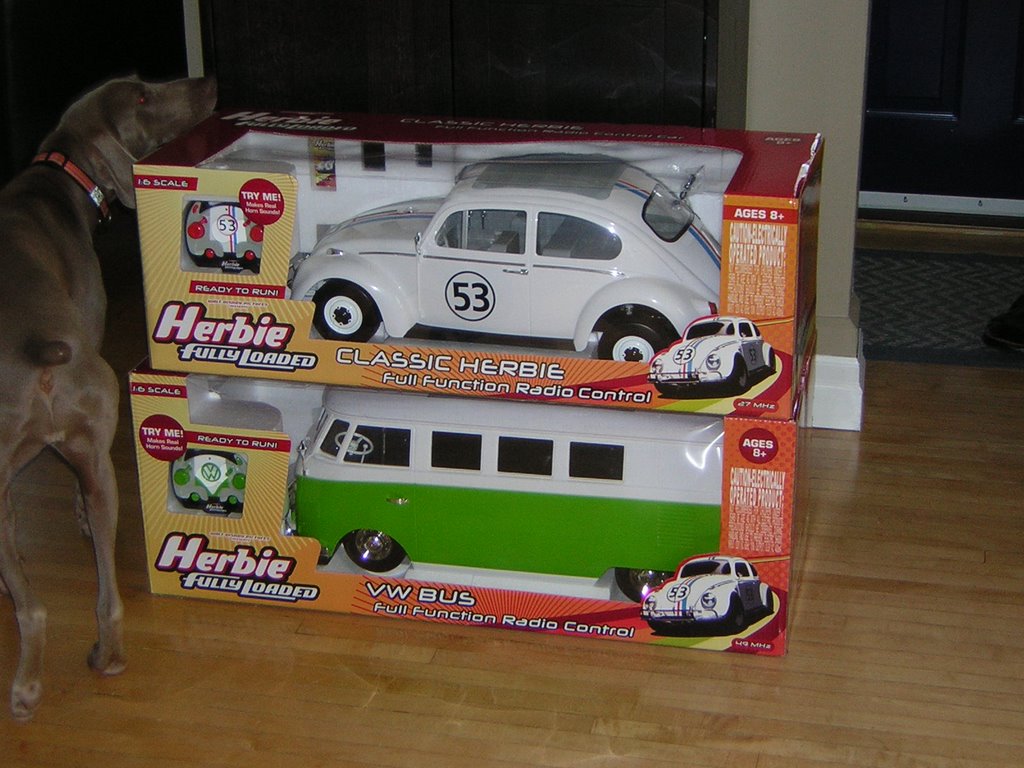
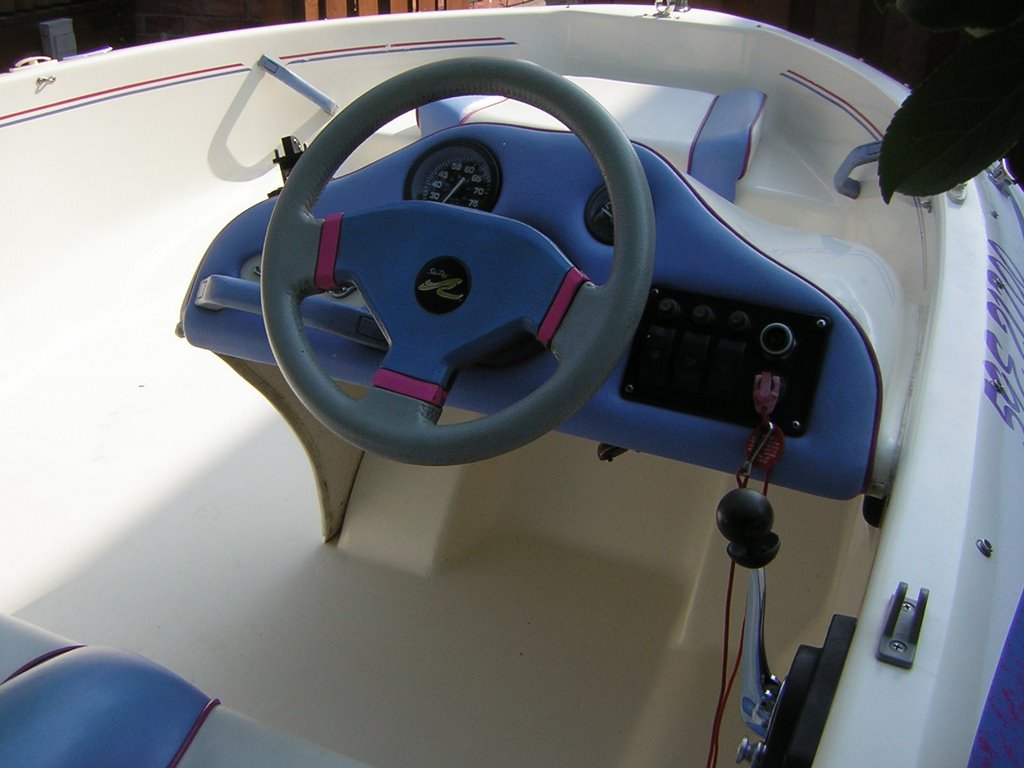
I've always loved boats and boating in general. The pieces of the puzzle started to come together this year when we replaced the camping trailer with "The Lime". We started to notice that most of the parks where we camp have boat ramps and docking or mooring for boats. Since we are no longer towing a trailer, but driving the van, we have the ability to take a boat with us. So, we bit the bullet this week and picked up a 1996 Sea-Ray Sea-Rayder Jet Boat with a 90HP 2-stroke oil injected Mercury Sport Jet engine and a beautiful original Shorelander trailer.

Until we come up with something better, for the purpose of this blog, the boat will be called "The Toad." This is a natural play on the fact this boat will be towed everywhere we go. There are long-term plans to update the colour scheme, and since the tow vehicle will most often be The Lime, it would be appropriate to go with a lime green paint scheme on the boat as well.

We got our first chance to use the boat this weekend when we launched it at Hunter's Bay Marina in Nipissing and took it over 15 miles to Sherry and Kevin's Island (Goose Island) in Lake Nipissing. We acheived speeds of over 32 MPH with Vanessa, myself, and all our gear in the boat. We later used the boat for some sightseeing, spin-outs, and we also took Kevin tubing. All this took place on just over a half-tank of gas. Not bad, since it costs Kevin over $50 one-way to his island in his Four Winns Vista.

This is a project blog, so I should point out some of the things I have done and need to do to the craft:

DONE:
-greased bearing buddies on the hubs
-purchased and mounted a spare tire
-checked all lights, wiring
-tightened grab handles in boat
-mounted CPS (www.cps-ecp.ca) flag on light pole
-purchased and stored all safety equipment and new ropes

TO DO:
-replace bilge pump (old one is shot, wiring OK)
-replace fuel hose
-clean and polish boat
-get longer rope for tube
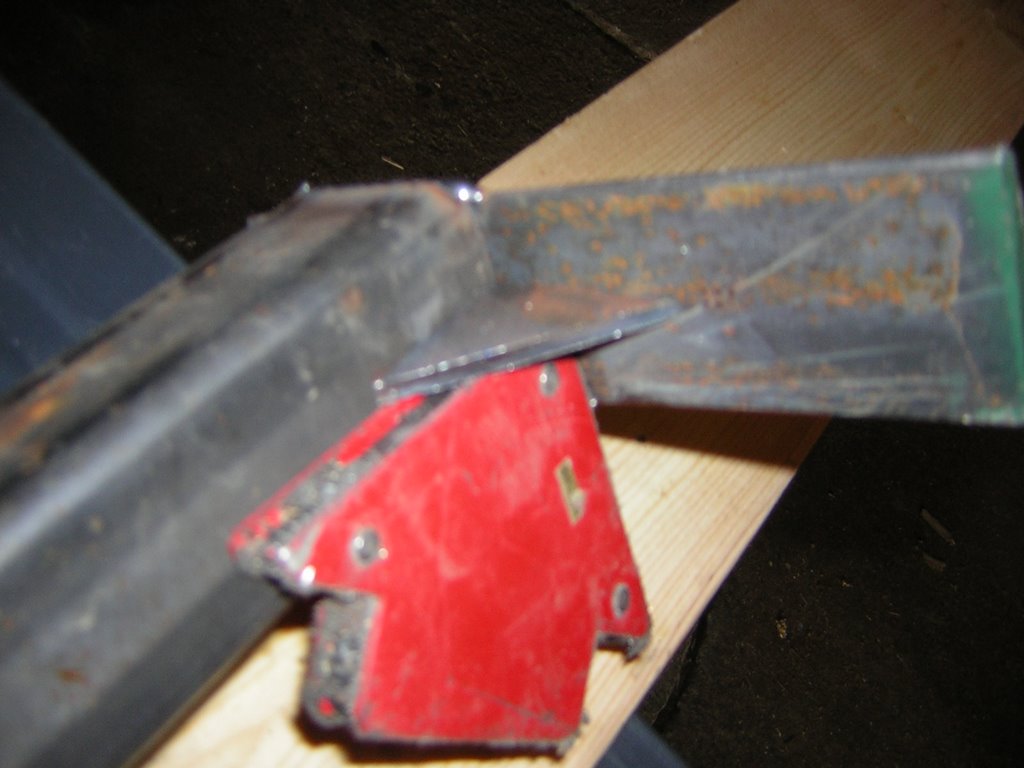
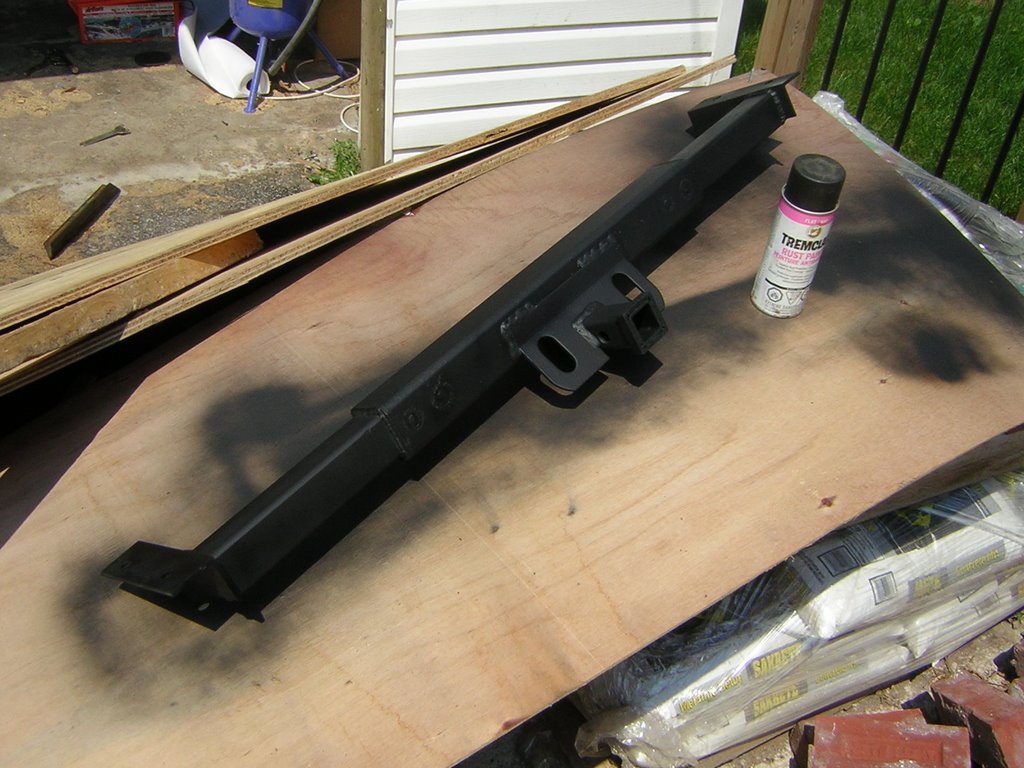
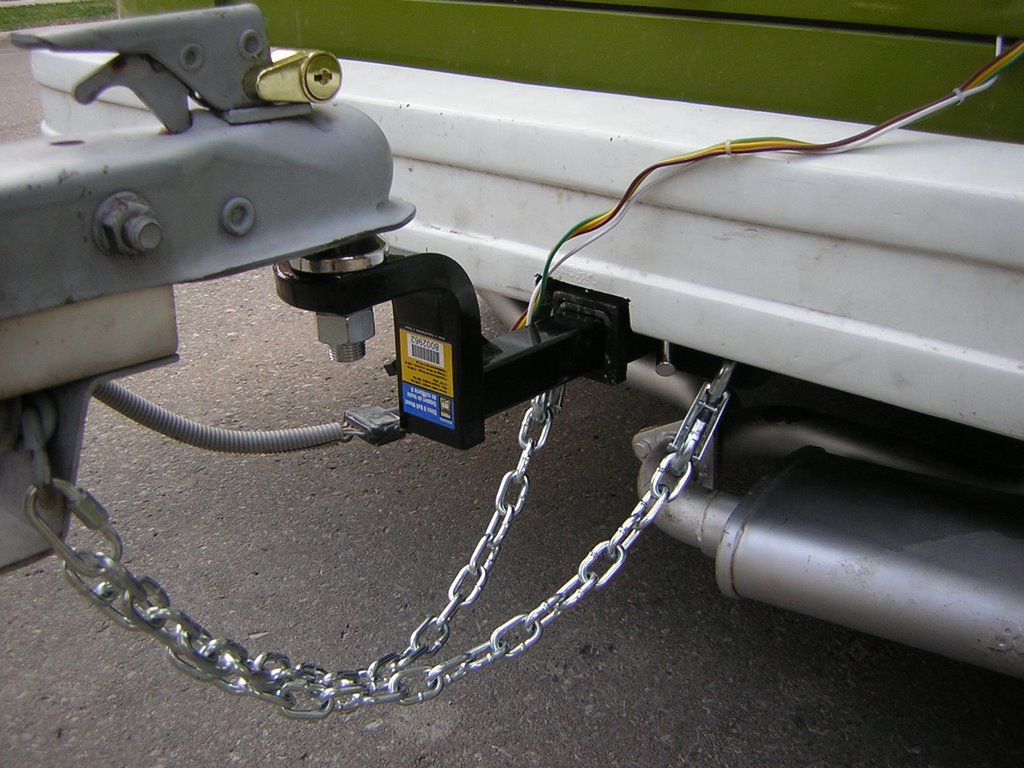
-design, build, and install hitch for The Lime
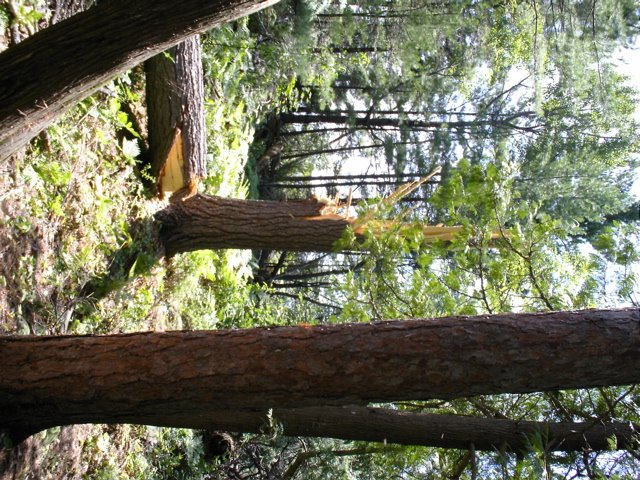
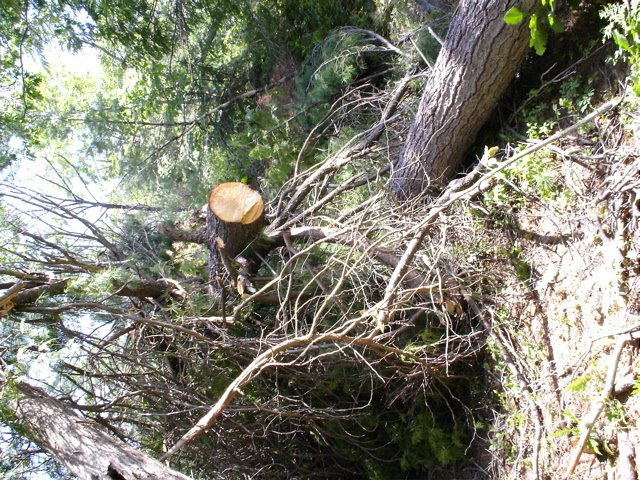
Wednesday, July 12, 2006

The Garage - First Wall Is Up!!


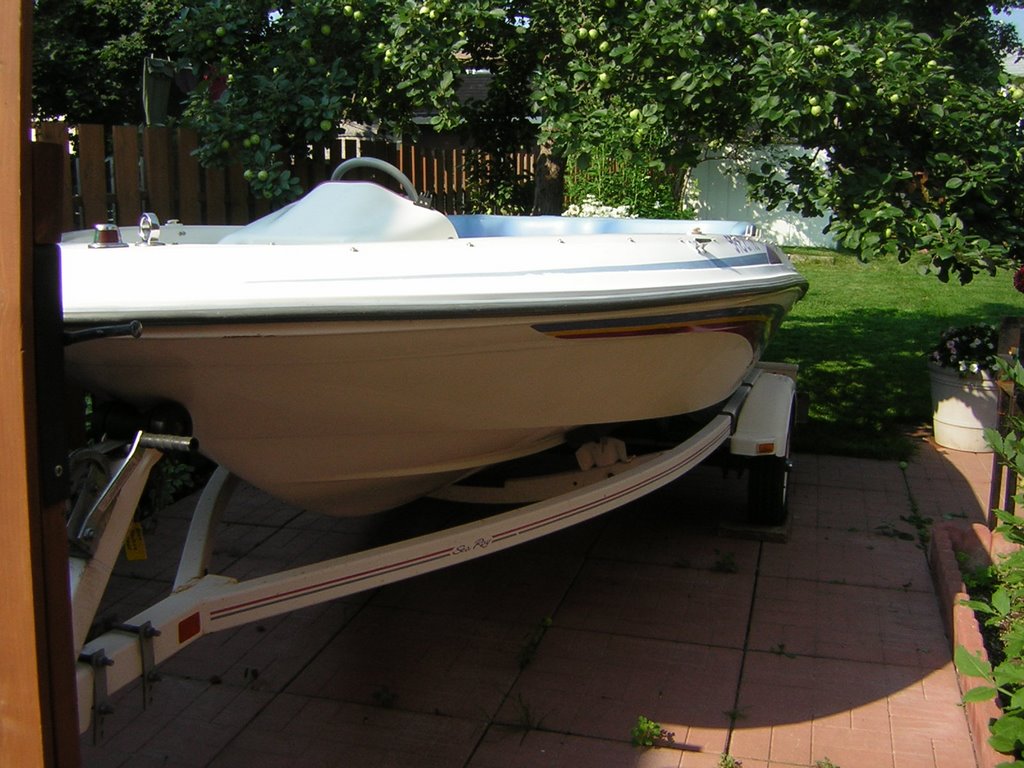
Well, the pictures do the talking here. First wall is up at 97". Door and windows are rough framed. The weight is off the old wall and the new wall is supporting the trussed roof... One down, three to go! Next the other side, then the back, then the front!!

Monday, July 10, 2006

The Garage - Status Report


Well, it's been a long time since my last post. Life has gotten in the way of posting, and working on the garage. It looks like this renovation is going to happen on evenings only unless I take some time off work since we're so busy every weekend...

The pictures above show the "trusserizing" of the roof. Basically this was a pretty rewarding process of installing the components of my own truss system into the existing roof. Backwards construction, really. I made the inner 6 trusses myself based on templates from the first. By then I had taken a considerable amount of sag from the middle of the roof, and the trusses aren't even supported on the new walls yet! I also felt I could remove the old cobbled-together support beam and posts which I have walked around for years - this was the rewarding part. Working on the two differently shaped trusses on each end proved to be more difficult because of the demolition that was required. I also needed more than my two hands, so my dad came down to help out and we got the framework of these four trusses in together. After he left and before our week-long vacation I was able to brace the trusses. All that is left for the roofing system is to complete the extensions front and rear, but I have decided to wait to do this until I have the side walls built. This will allow me to accurately place them at the right height, since the clearance needed for my new garage door is critical.

The next step, then, is to build the two 2 x 4 side walls. I plan to start this today. I need to make a trip to Home Depot to get the rough sizing for the future side windows so I can frame the walls accordingly. I believe I will build these walls with a PT bottom plate, 92 - 5/8 studs, and a double top plate. This will make the finished height 97 - 1/8, which, since the floor is heaved in the middle, should allow an eight foot height in the centre of the garage...

More posts will come as I can write them.