The Garage - Update


Once again, it's been a long time since my last post. My apologies. With work, camping, boating, social obligations, etc., I've been working on the garage solely weeknights, after work.
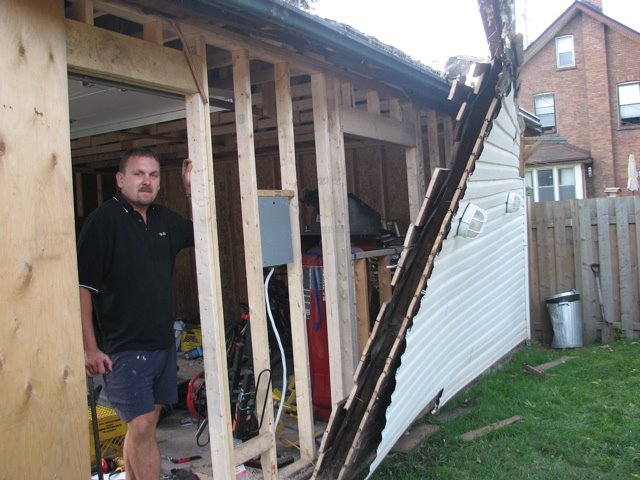
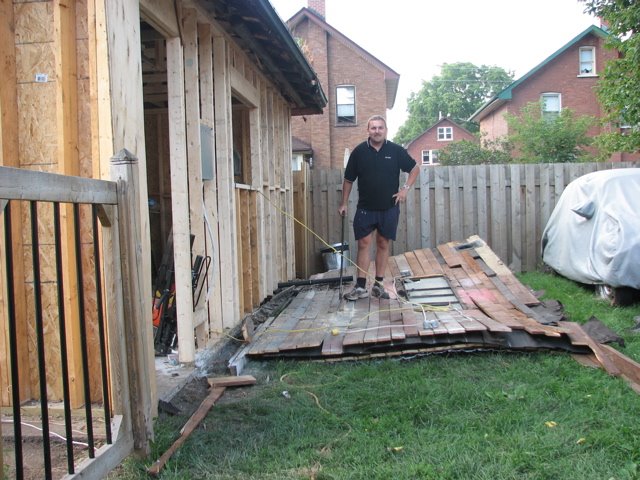
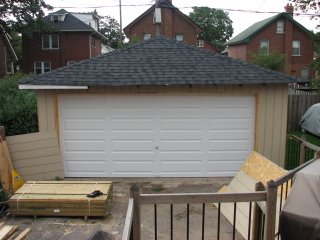
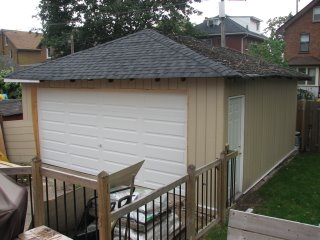
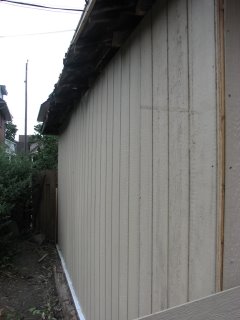
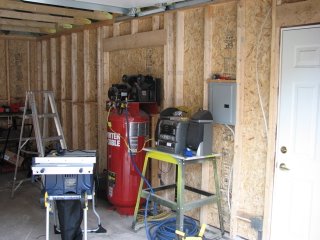
The pictures above detail the most exciting phase of the construction: demolition of the old walls (exposing the new walls behind) and erection of the Smart Panel sheathing. Somewhere in there I also fit installation of the man-door, burying of the power conduit, installation of a new Siemens breaker box, and other things too, I'm sure.
When we first started on this project the idea was to have a dumpster dropped off for the waste. However, I decided against it for two reasons... Firstly, the waste was quite bulky and I worried it would fill the bin, requiring a second drop-off fee. Secondly, because of the slow pace of construction (and destruction), I was worried I couldn't produce all the waste in the 1 week window that they leave the bin.
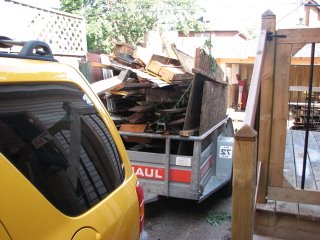
It turned out to be a wise choice. After taking the walls down in sections (with my chainsaw) I rented a U-Haul 5 x 9 open trailer. From 8am to noon I ran loads from home to my local transfer station with the walls and assorted waste. In total it cost $236 and I dumped over 5000 pounds of waste.
Once the garbage was out of the way I was able to put up the Smart Panel sheathing. It went up well with PL200 and nails from my nail gun. My dad (of Bob's Bug fame) helped with one wall.
The man-door and wiring went in with little trouble, though drilling through the pad to run a flexible conduit proved easier than sourcing the drill bit with which to do it. CTC, Home Depot, Millwork, Holland Building Centre, and countless other stores in town did not have a 1" masonry drill bit in stock - let alone one long enough to go through the concrete pad at the right angle. Of all places, I found one right off the shelf at Home Hardware in Gravenhurst, Ontario for $40. Naturally, the popcorn was complimentary.
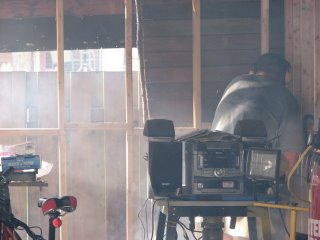
The inside shots show the framing - some fire bracing left to do, the headers in place for the windows to be installed sometime in the future. The front wall was insulated before the siding was installed. All other walls will be insulated as well once the wiring is complete.
I now have some final work to do in the roof. Then the rotten overhang of the roof will be cut off flush with the wall. Next I will mark 12" up from this point and remove the rotten decking boards. New tails will be installed and 5/8" roof sheathing overlapping the 12" exposed and creating a new 12" overhang. Then shingles, fascia, soffit, exterior moldings, paint, etc., etc., etc...
posted by Brad @ 4:58 p.m.
![]()

<< Home